Equipment
Paint fill 101

By GolfWRX member HuckleBogey_Finn
To see the original thread the viral discussion in the forums click here
As promised, after much trial and error I believe I have found a very good way to paint fill golf clubs. I will try to be as detailed as possible and I am including a few pics. They were taken with my iphone so the pics arent great, but I am extremely happy with the results. I have tried many paints, solvents and dilutes and this is by far the best combination I have found. I feel anyone can do this. I am sure there are other ways to get good results but this is my preferred way
I appreciate constructive criticisms and feel free to ask questions.
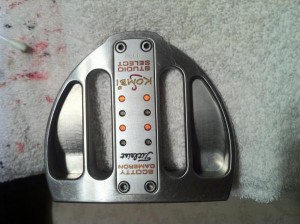
I went with a SF Giants color scheme here. All of you dodger fans can suck it ![]()
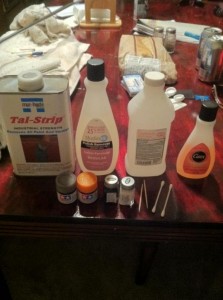
First you need the tools. In this example I used Tamiya color paint in smoke, clear orange, clear red, and clear yellow. I also used testors model enamal for the top sight line. You will also need tal strip paint stripper, acetone nail polish remover, non-acetone nail polish remover, 91% rubbing alcohol, q-tips, toothpicks, towels, lint free rags, gloves (you don’t want paint stripper on your fingers!) an old toothbrush and PATIENCE!
To see the original thread the viral discussion in the forums click here
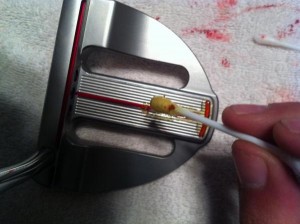
First thing you need to do is get rid of all the original paint. With a q-tip apply a liberal amount of tal strip to all painted areas. Wait 5-10 minutes and you will see blobs of paint bubbling out of the spaces.
To see the original thread the viral discussion in the forums click here
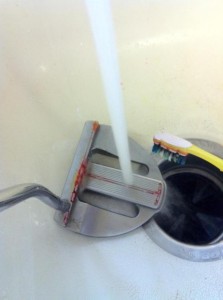
After all of the paint has bubbled out grab the toothbrush and in a sink you dont mind getting stained (or outside with the garden hose) scrub and rinse out all the spaces that had paint in them. The paint should come right out. Sometimes you may have a few remnants hanging around. If so reapply the stripper to these parts until you are left with only bare metal.
To see the original thread the viral discussion in the forums click here
Now take your acetone and give the whole head a good wash scrub. This will remove any oils or remnants of stripper and give you a nice clean surface for the paint. Let it all dry out and now its time to get to painting!
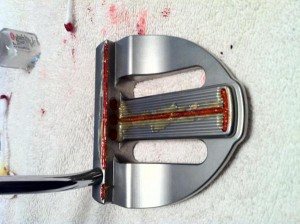
I first use a q-tip to apply a little of the rubbing alcohol to the spaces I’m going to paint. This thins the paint slightly to allow a nice glassy finish when it dries without bubbles. You just need the slightest sheen, not a puddle. This takes practice and it took me a few tries to get right. Now with a toothpick dipped in the paint start applying the paint into the spaces. The paint should “travel” to fill the spaces. If you go outside the lines a little bit thats ok, but start light then work your way thicker. When the paint starts to dry you will get a good feel for how it will finish. If you dont like the opacity, start over. Dont apply a coat over the first.
To see the original thread the viral discussion in the forums click here
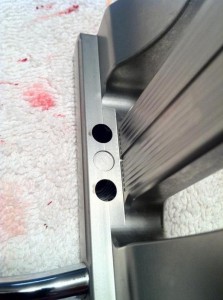
The topline of the Kombi s was tough because of the angle. I decided on gloss white here for function over form.
To see the original thread the viral discussion in the forums click here
So now after all the paint is applied (depending on angles and position you may have to wait to do certain sections, but I recommend holding off on clean up until you are all done) you are going to have some over paint. No worries. Just let it all dry. This takes a while. Heat will help acrylic paints, but enamels only dry by oxidation and that takes time. I wait overnight.
After all the paint is dry grab a lint free cloth or used t-shirt and dip it into the non acetone remover. I use the non acetone here because it does the job without the fear of stripping the paint in the grooves. Using light pressure rub the moist rag over the over painted areas making sure not to get the cloth in the painted grooves until all the unwanted paint is gone.
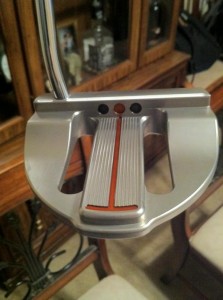
Now you have a DIY custom club. The beauty of this is if you arent totally happy you can do it as many times as you want.
Enjoy the final product.
To see the original thread the viral discussion in the forums click here
- LIKE20
- LEGIT3
- WOW2
- LOL3
- IDHT1
- FLOP1
- OB1
- SHANK3
Whats in the Bag
Kris Kim WITB 2024 (May)

- Kris Kim what’s in the bag accurate as of the CJ Cup Byron Nelson. More photos from the event here.
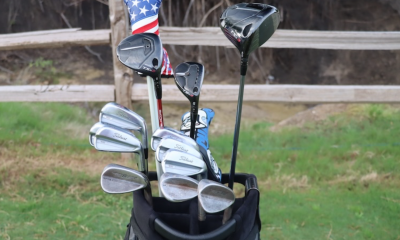
Driver: TaylorMade Qi10 (9 degrees @7)
Shaft: Mitsubishi Tensei 1K White 60 TX
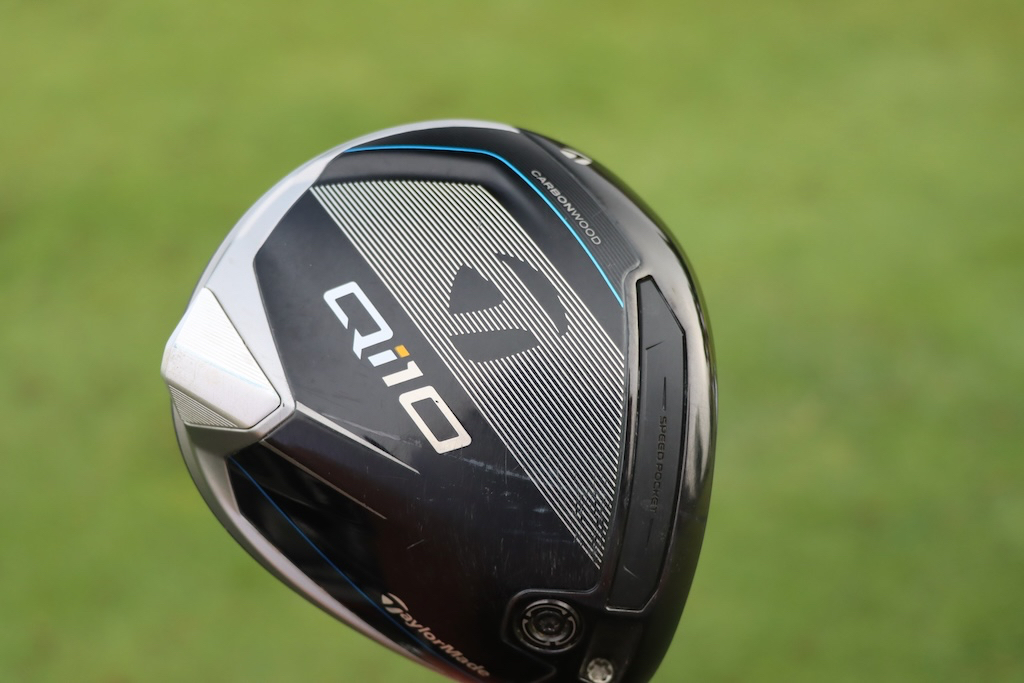

3-wood: TaylorMade Qi10 Tour (15 degrees @13.5)
Shaft: Mitsubishi Diamana WB 73 TX
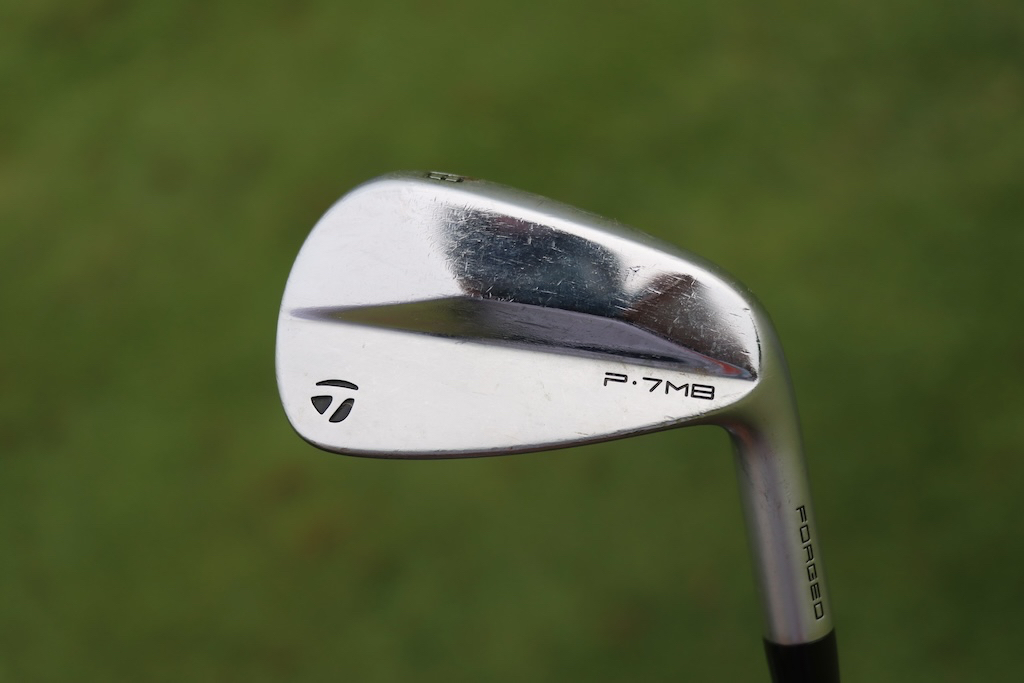
Irons: TaylorMade P770 (2, 4), TaylorMade P7MB (5-PW)
Shafts: Mitsubishi Tensei 1K White 80 TX (2), Nippon N.S. Pro Modus3 Tour 120 X

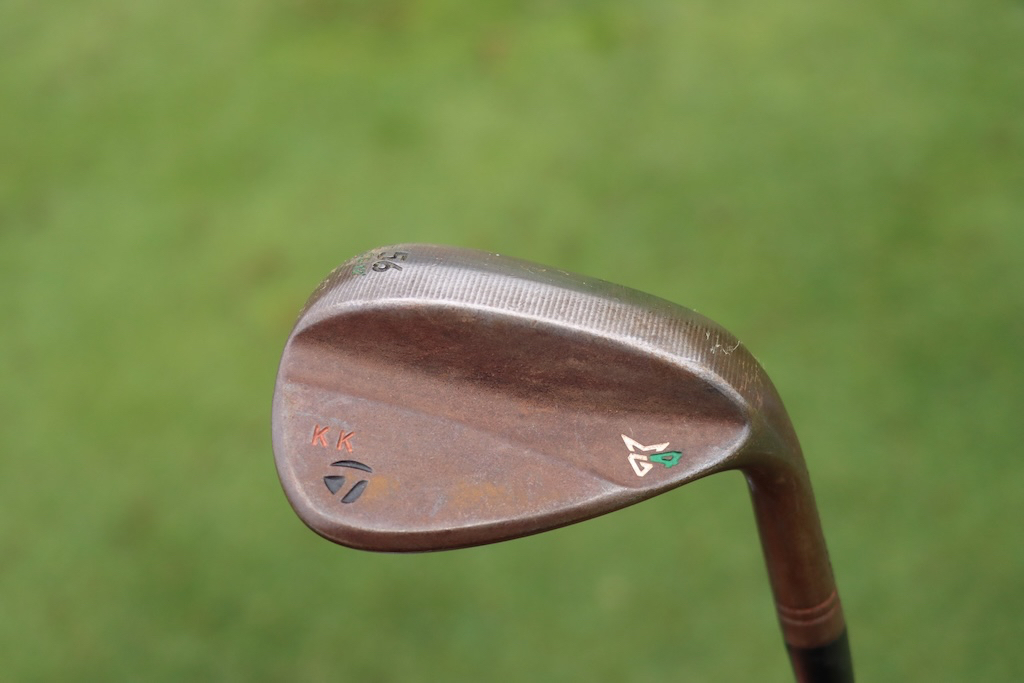
Wedges: TaylorMade MG4 (50-09SB, 56-12SB, 60-11TW)
Shafts: Nippon N.S. Pro Modus3 WV 125

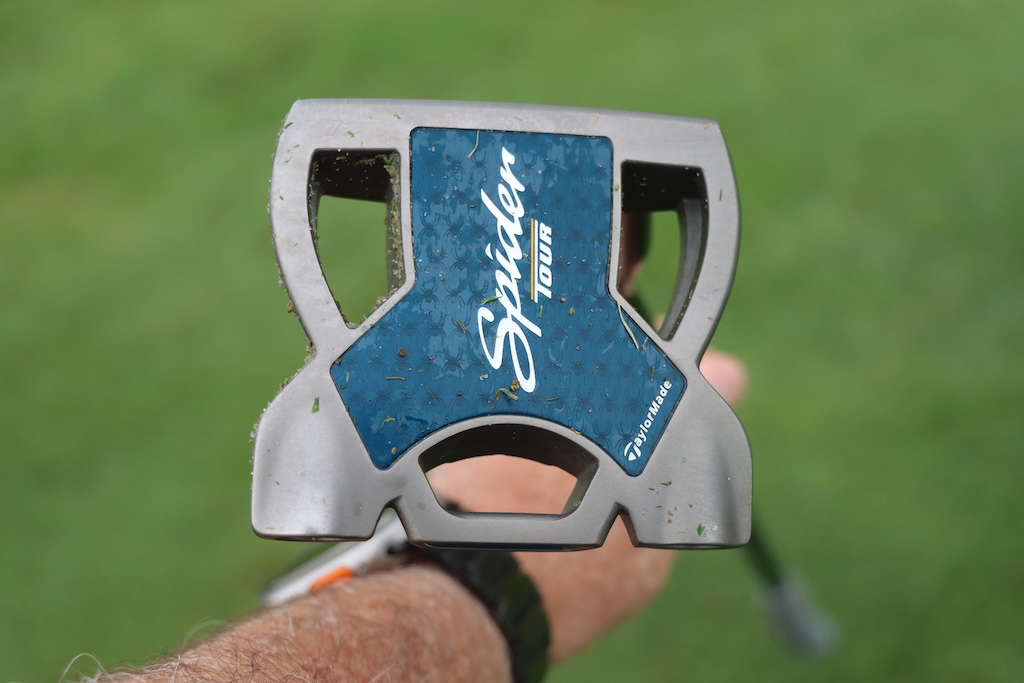
Putter: TaylorMade Spider Tour
Grips: Golf Pride Tour Velvet Cord
Check out more in-hand photos of Kris Kim’s equipment here.
View this post on Instagram
- LIKE0
- LEGIT0
- WOW0
- LOL0
- IDHT0
- FLOP0
- OB0
- SHANK0
Equipment
Welcome to the family: TaylorMade launches PUDI and PDHY utility irons
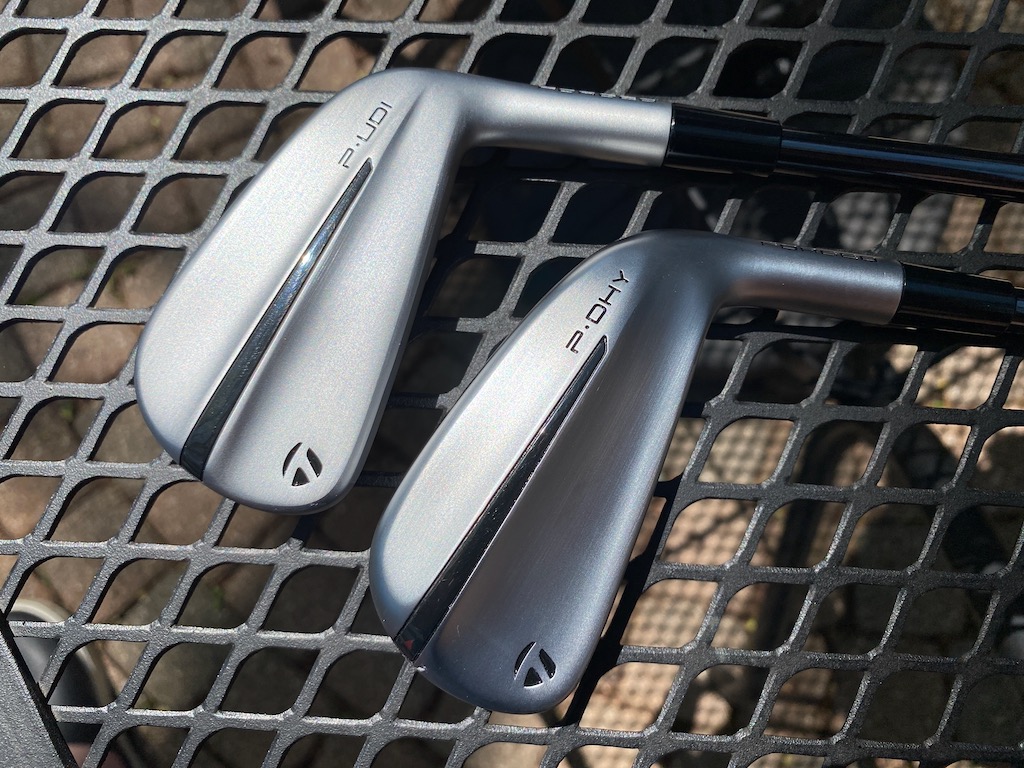
TaylorMade is continuing its UDI/DHY series with the successor to the Stealth UDI and DHY utility irons: PUDI and PDHY (which the company styles as P·UDI and P·DHY). TaylorMade is folding the designs in with its P Series of irons.
TaylorMade outlined the process of developing its new utilities this way. The company started with the data on utility iron usage. Not surprisingly, better players — i.e. those who generate more clubhead speed and strike the ball more precisely — were found to gravitate toward the UDI model. DHY usage, however, covered a wider swath than the company might have expected with six-to-18 handicappers found to be bagging the club.
TaylorMade also found that the majority of golfers playing UDI or DHY utilities were playing P Series irons at the top of their iron configurations.
Can you see where this is going?
Matt Bovee, Director of Product Creation, Iron and Wedge at TaylorMade: “As we look to the future, beyond the tech and the design language, we are excited about repositioning our utility irons into the P·Series family. P·UDI is an easy pair for players that currently play P·Series product and P·DHY is an extremely forgiving option for players of all skill levels. It is a natural fit to give these players the performance in this category that they are looking for.”
View this post on Instagram
TaylorMade PUDI
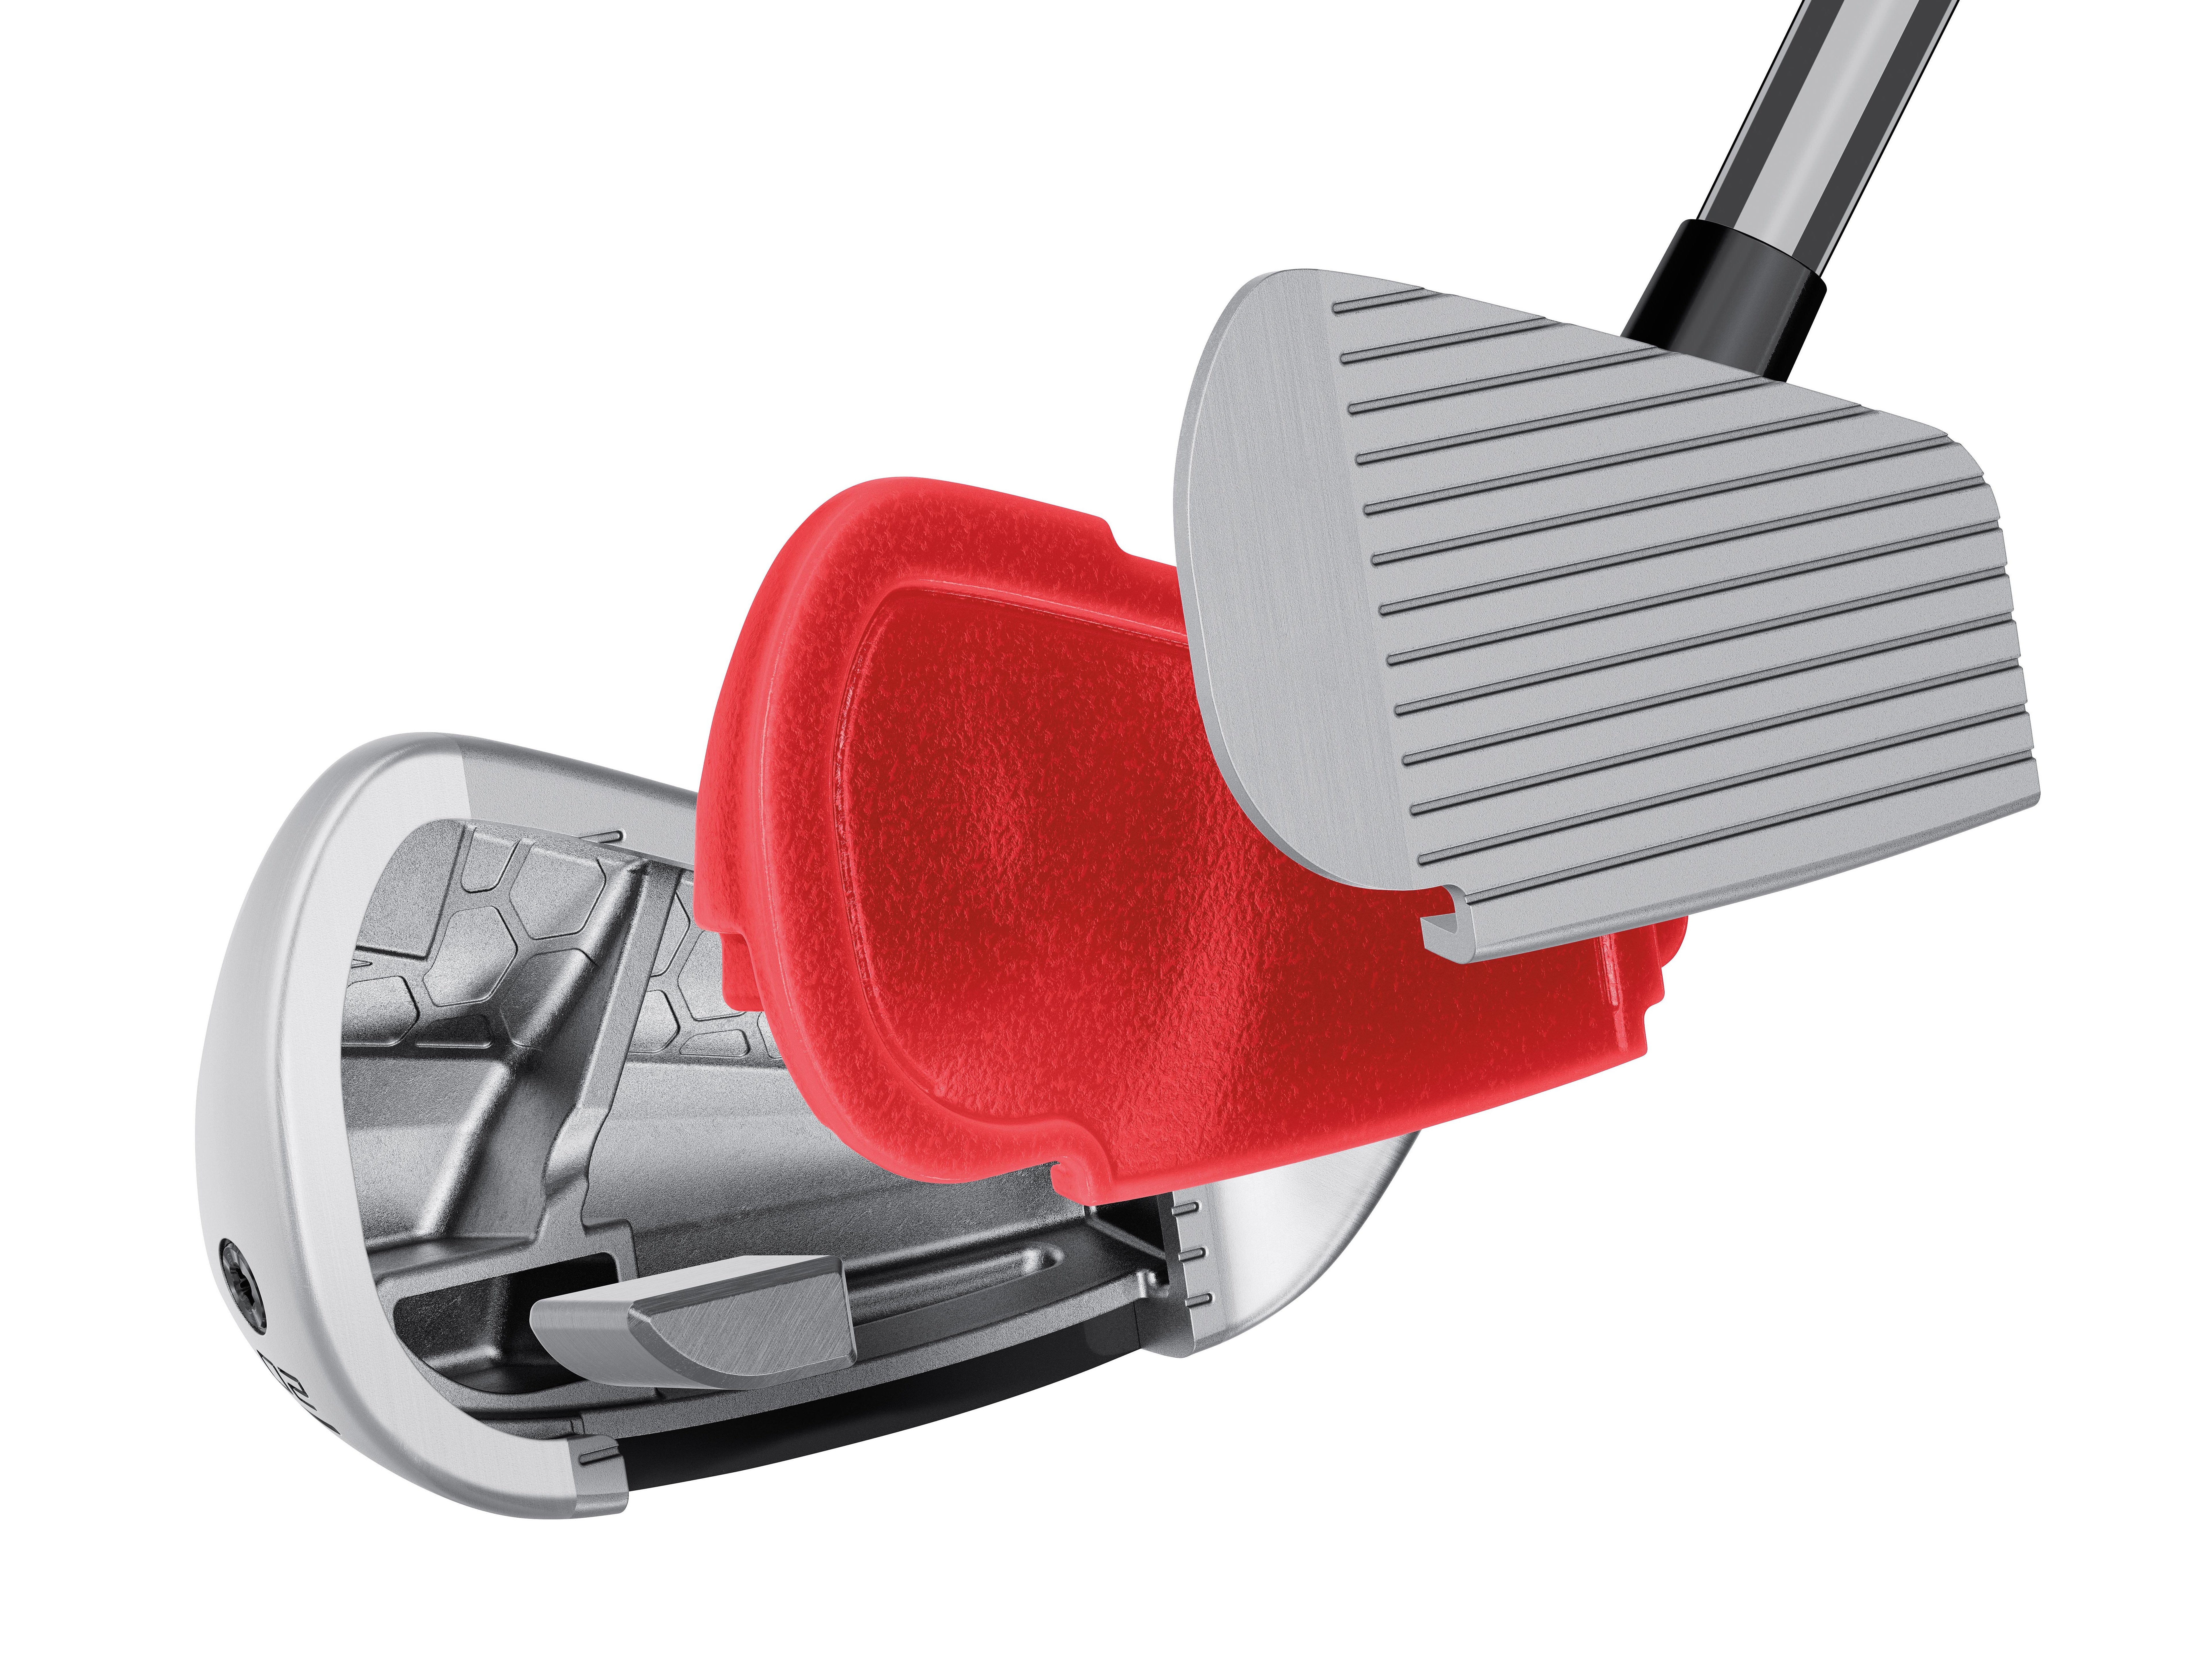
TaylorMade PUDI technology cutaway (via TaylorMade)
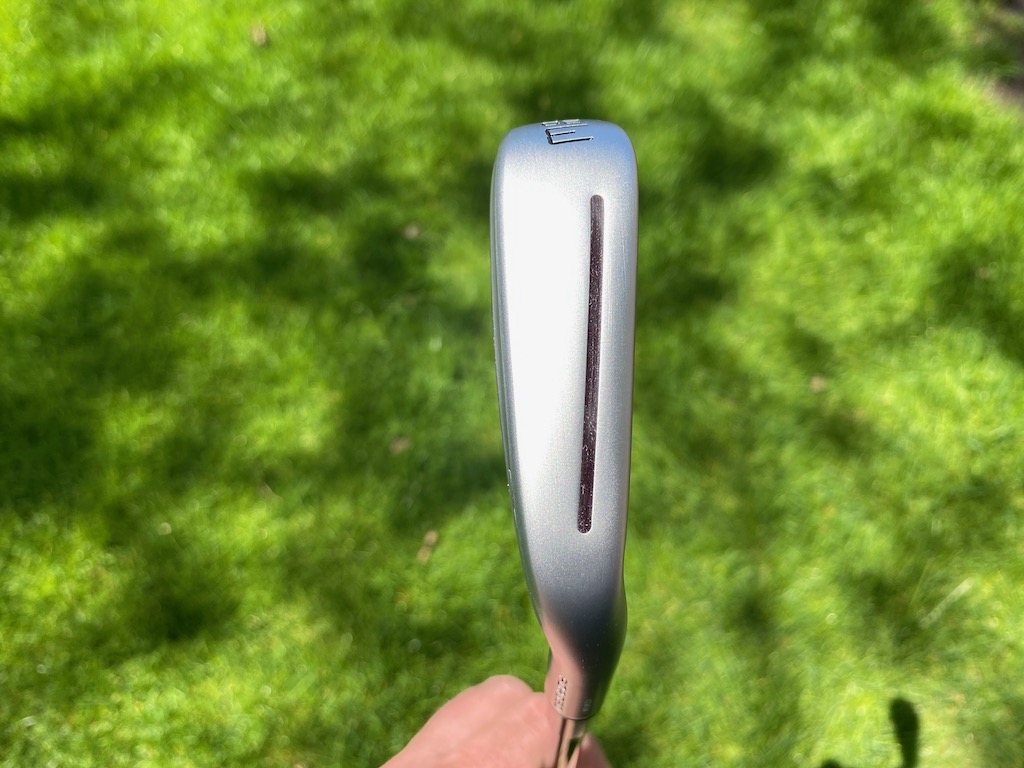
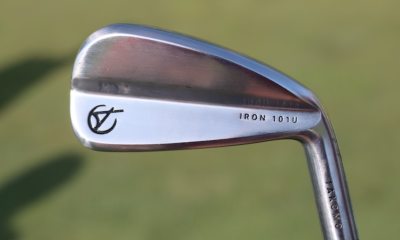
Crafted with tour player input, TaylorMade sought to develop a confidence-inspiring utility iron that blends with the rest of the P Series irons. Also of note: Interestingly, the PUDI has a more compact head than the P790.
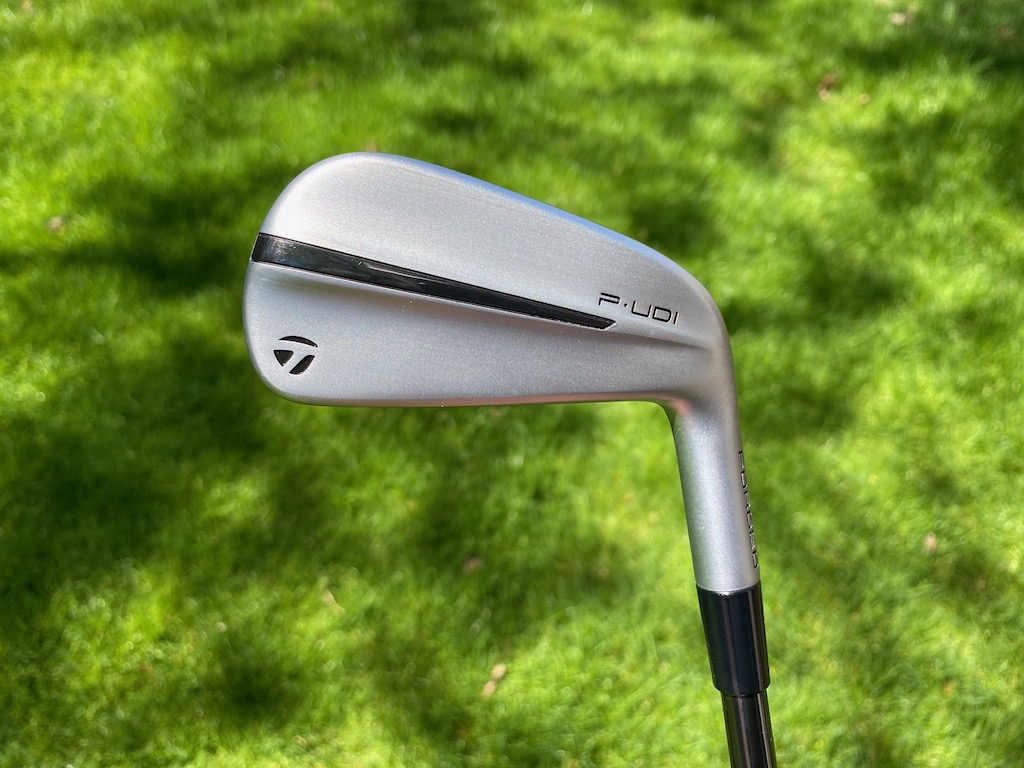
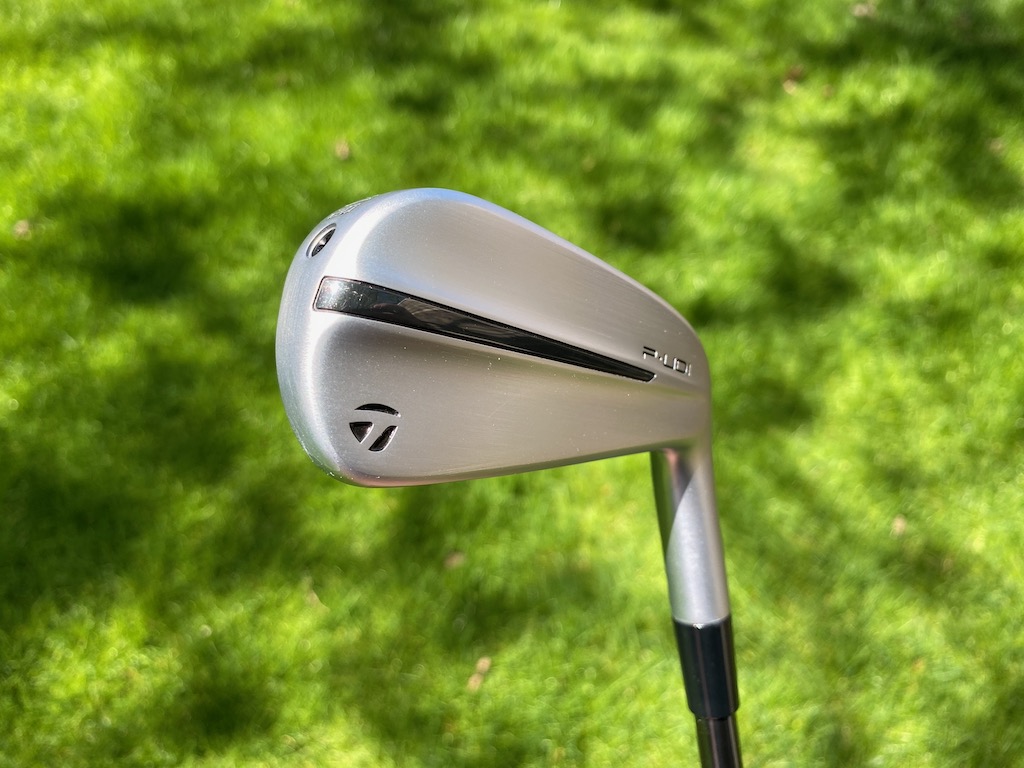
In comparison to past UDI products, the PUDI has a more traditional iron shape, slimmer toplines, and less offset with a little of the backbar visible at address.

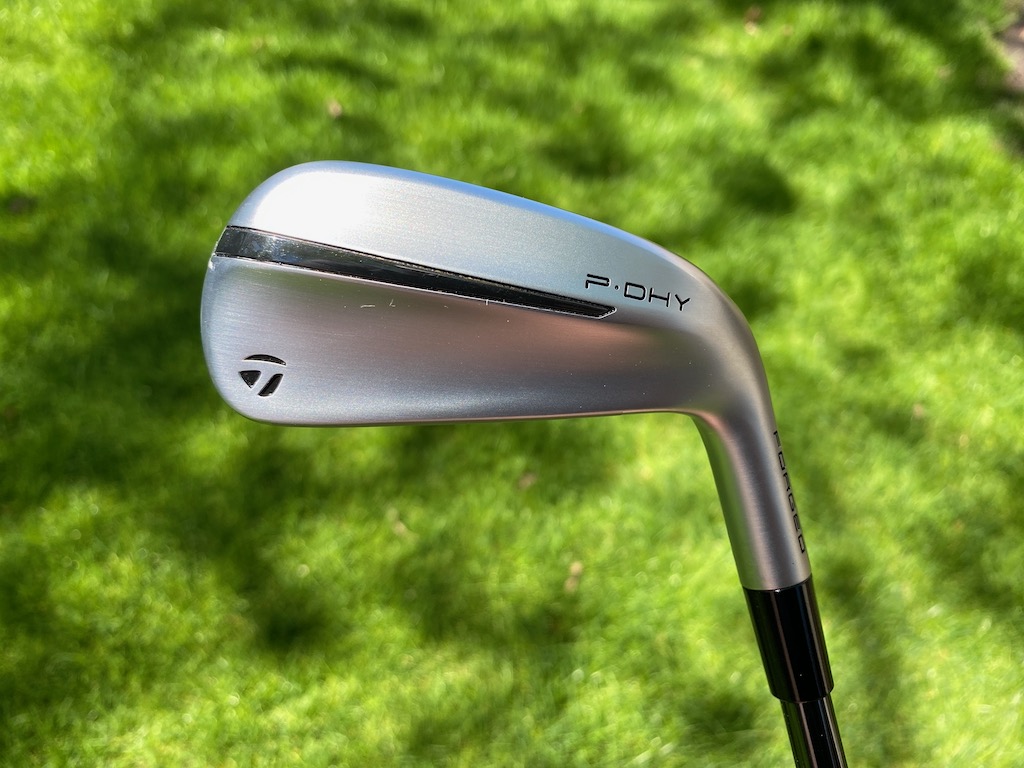
TaylorMade PDHY
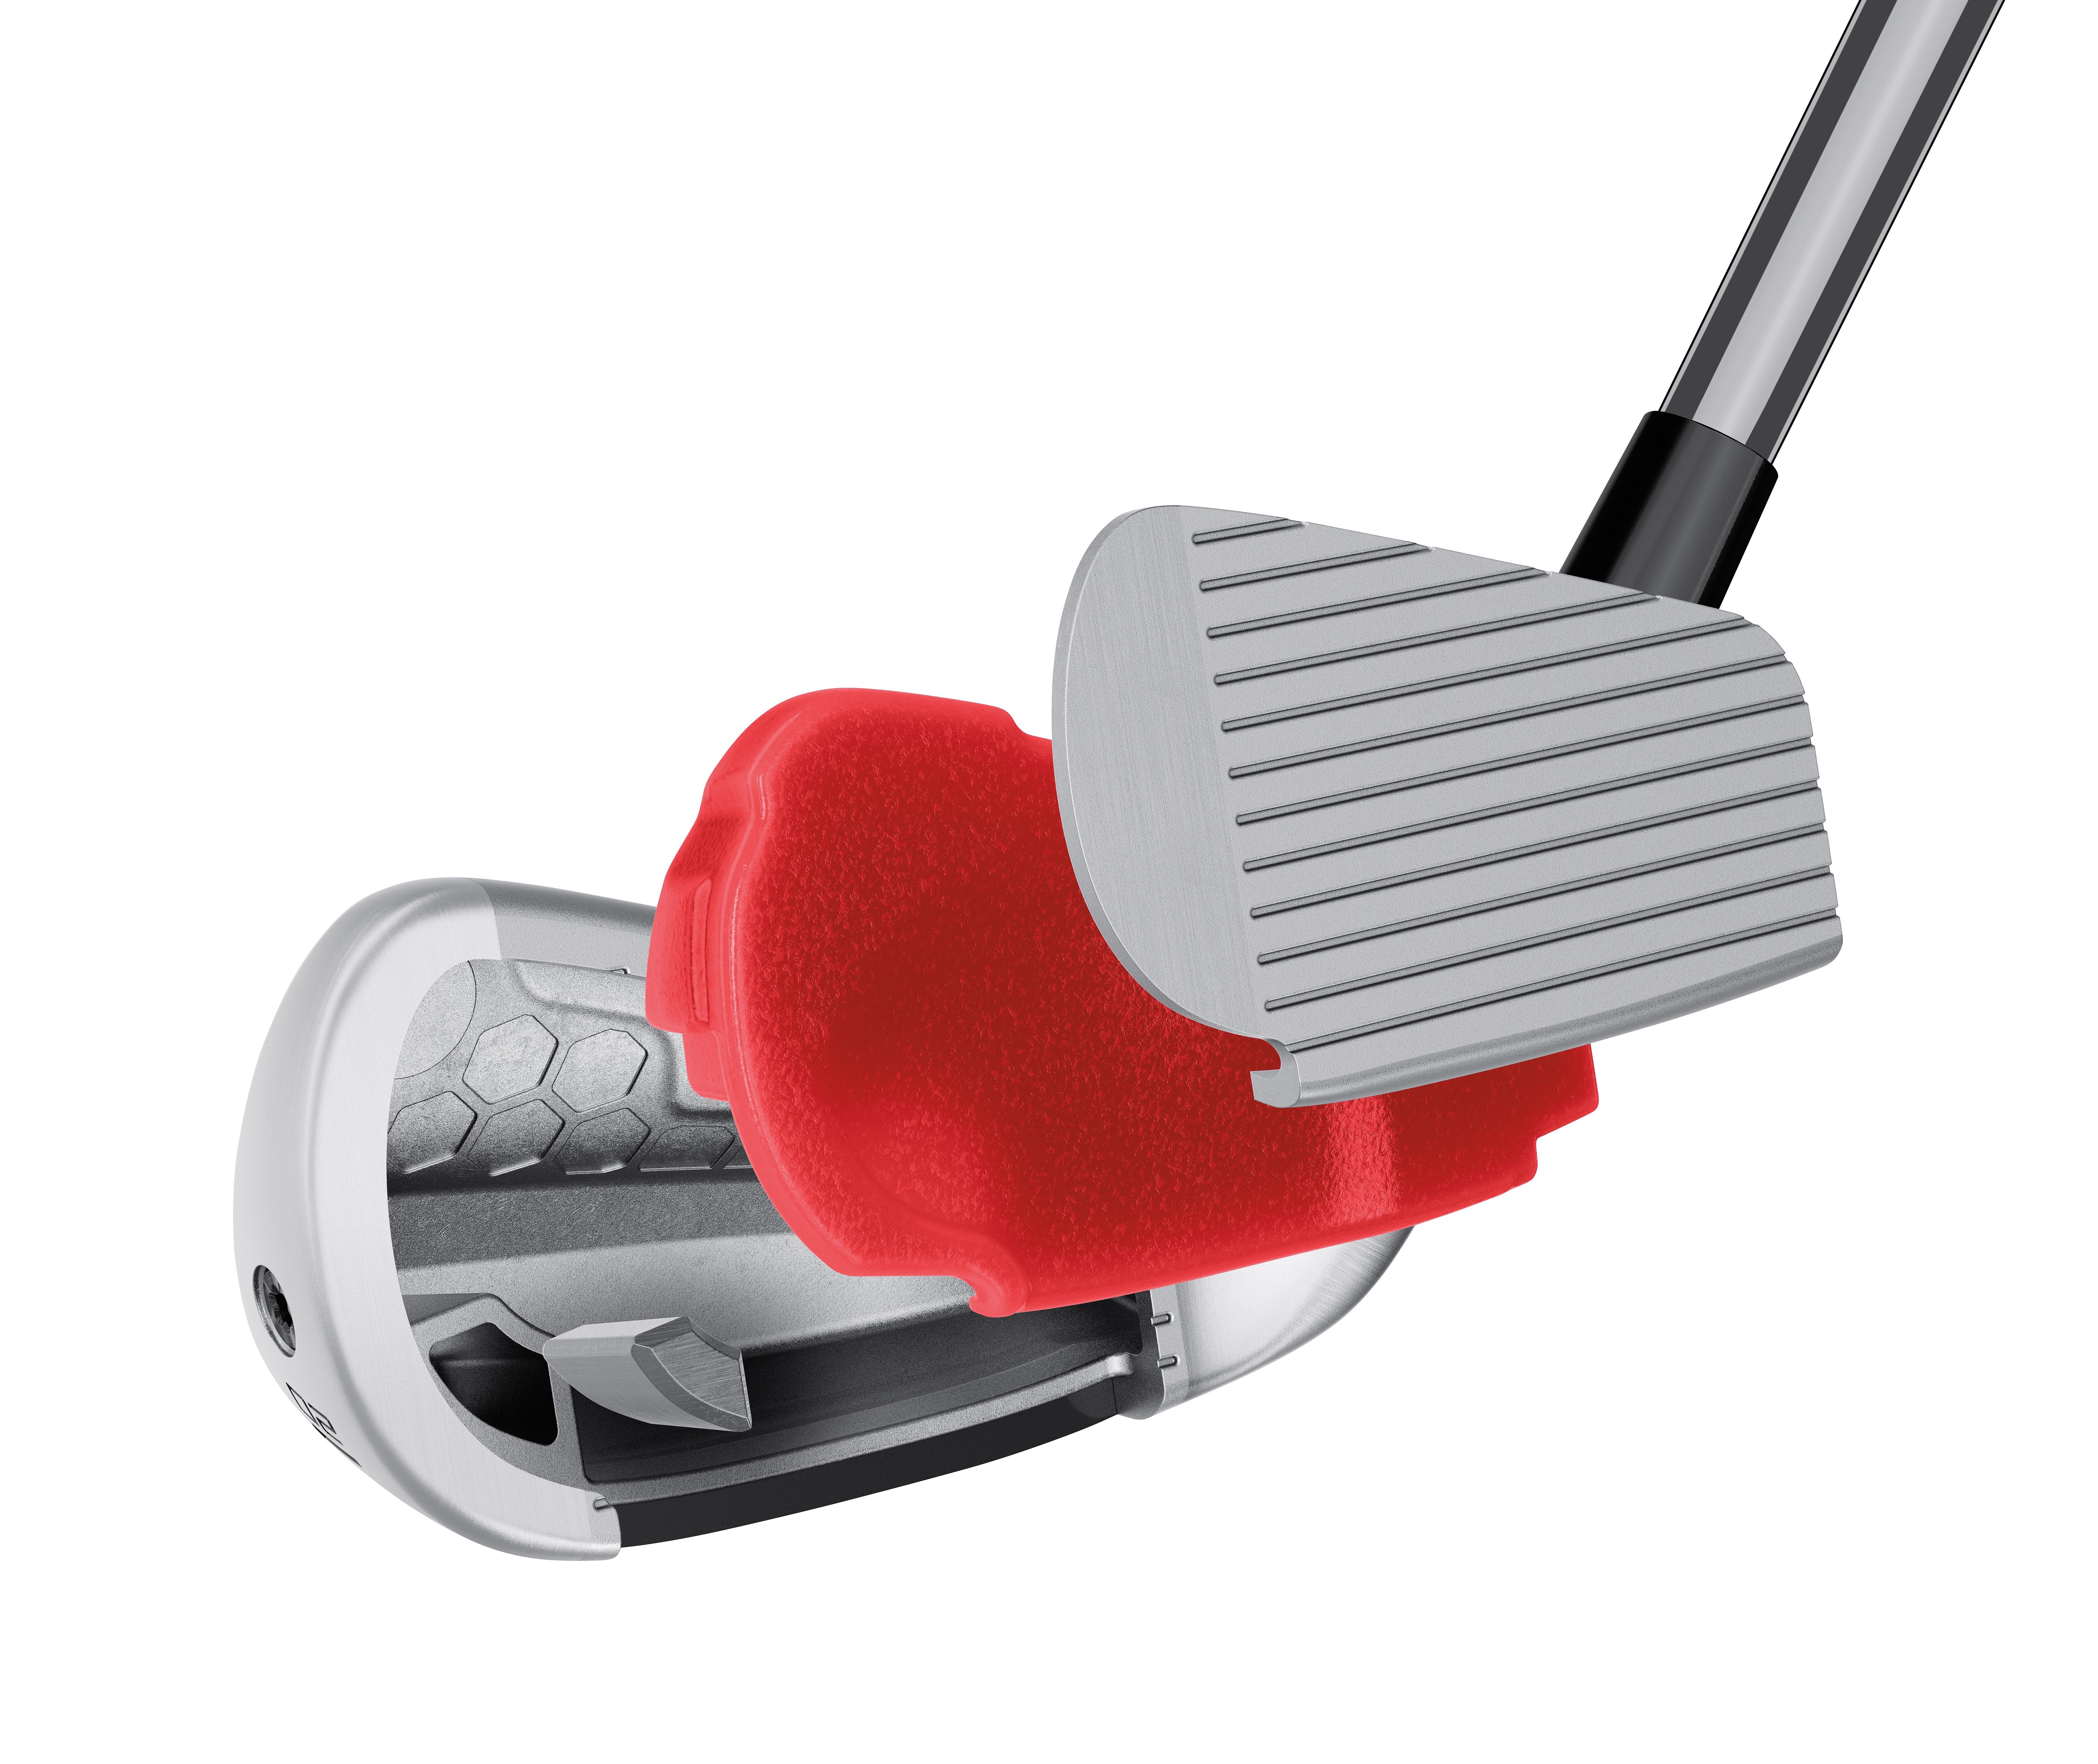
TaylorMade PDHY tech cutaway (via TaylorMade).
Larger in profile than the PUDI, the PDHY seeks to position center of gravity (CG) lower in the club for ease of launch. The toe height is larger and the profile is larger at address — roughly five millimeters longer than PUDI — the sole of the club is wider for improved forgiveness.


Club Junkie’s take
Golfers who feel like they are missing something at the top of the bag could find the PUDI or PDHY a great option. The look of the PUDI should fit the most discerning eye with a more compact look, less offset, and a thinner topline. If you want a little more confidence looking down the P-DHY will be slightly larger while still being a good-looking utility iron.
For being small packages both models pack a pretty good punch with fast ball speeds, even off-center. The feel is soft and you get a solid feel of the ball compressing off the face when you strike it well. Your ears are greeted with a nice heavy thud as the ball and club come together. The PDHY will launch a little higher for players who need it while the PUDI offers a more penetrating ball flight. Both utility irons could be the cure for an open spot in the top end of the bag.
PUDI, PDHY, or Rescue?
TaylorMade offers the following notes to assist golfers in filling out their bags:
- PUDI has mid-CG right behind the center face to create a more penetrating mid-to-low ball flight
- PDHY has a lower center of gravity to produce an easier-to-launch mid-to-high ball flight.
- Both PUDI and PDHY are lower-flying than the company’s hybrid/Rescue clubs.
- PUDI is more forgiving than P790.
- PDHY is the most forgiving iron in the entire TaylorMade iron family
Pricing, specs, and availability
Price: $249.99
At retail: Now
Stock shafts: UST Mamiya’s Recoil DART (105 X, 90 S and 75 R – only in PDHY)
Stock grip: Golf Pride’s ZGrip (black/grey)
PUDI lofts: 2-17°, 3-20°, 4-22° in both left and right-handed
PDHY lofts: 2-18°, 3-20° and 4-22° in both left and right-handed
- LIKE15
- LEGIT4
- WOW3
- LOL3
- IDHT1
- FLOP2
- OB2
- SHANK4
Equipment
Coolest thing for sale in the GolfWRX Classifieds (5/3/24): Scotty Cameron Champions Choice 2.5+ putter

At GolfWRX, we are a community of like-minded individuals that all experience and express our enjoyment of the game in many ways.
It’s that sense of community that drives day-to-day interactions in the forums on topics that range from best driver to what marker you use to mark your ball. It even allows us to share another thing we all love – buying and selling equipment.
Currently, in our GolfWRX buy/sell/trade (BST) forum, there is a listing for a Scotty Cameron Champions Choice 2.5+ putter
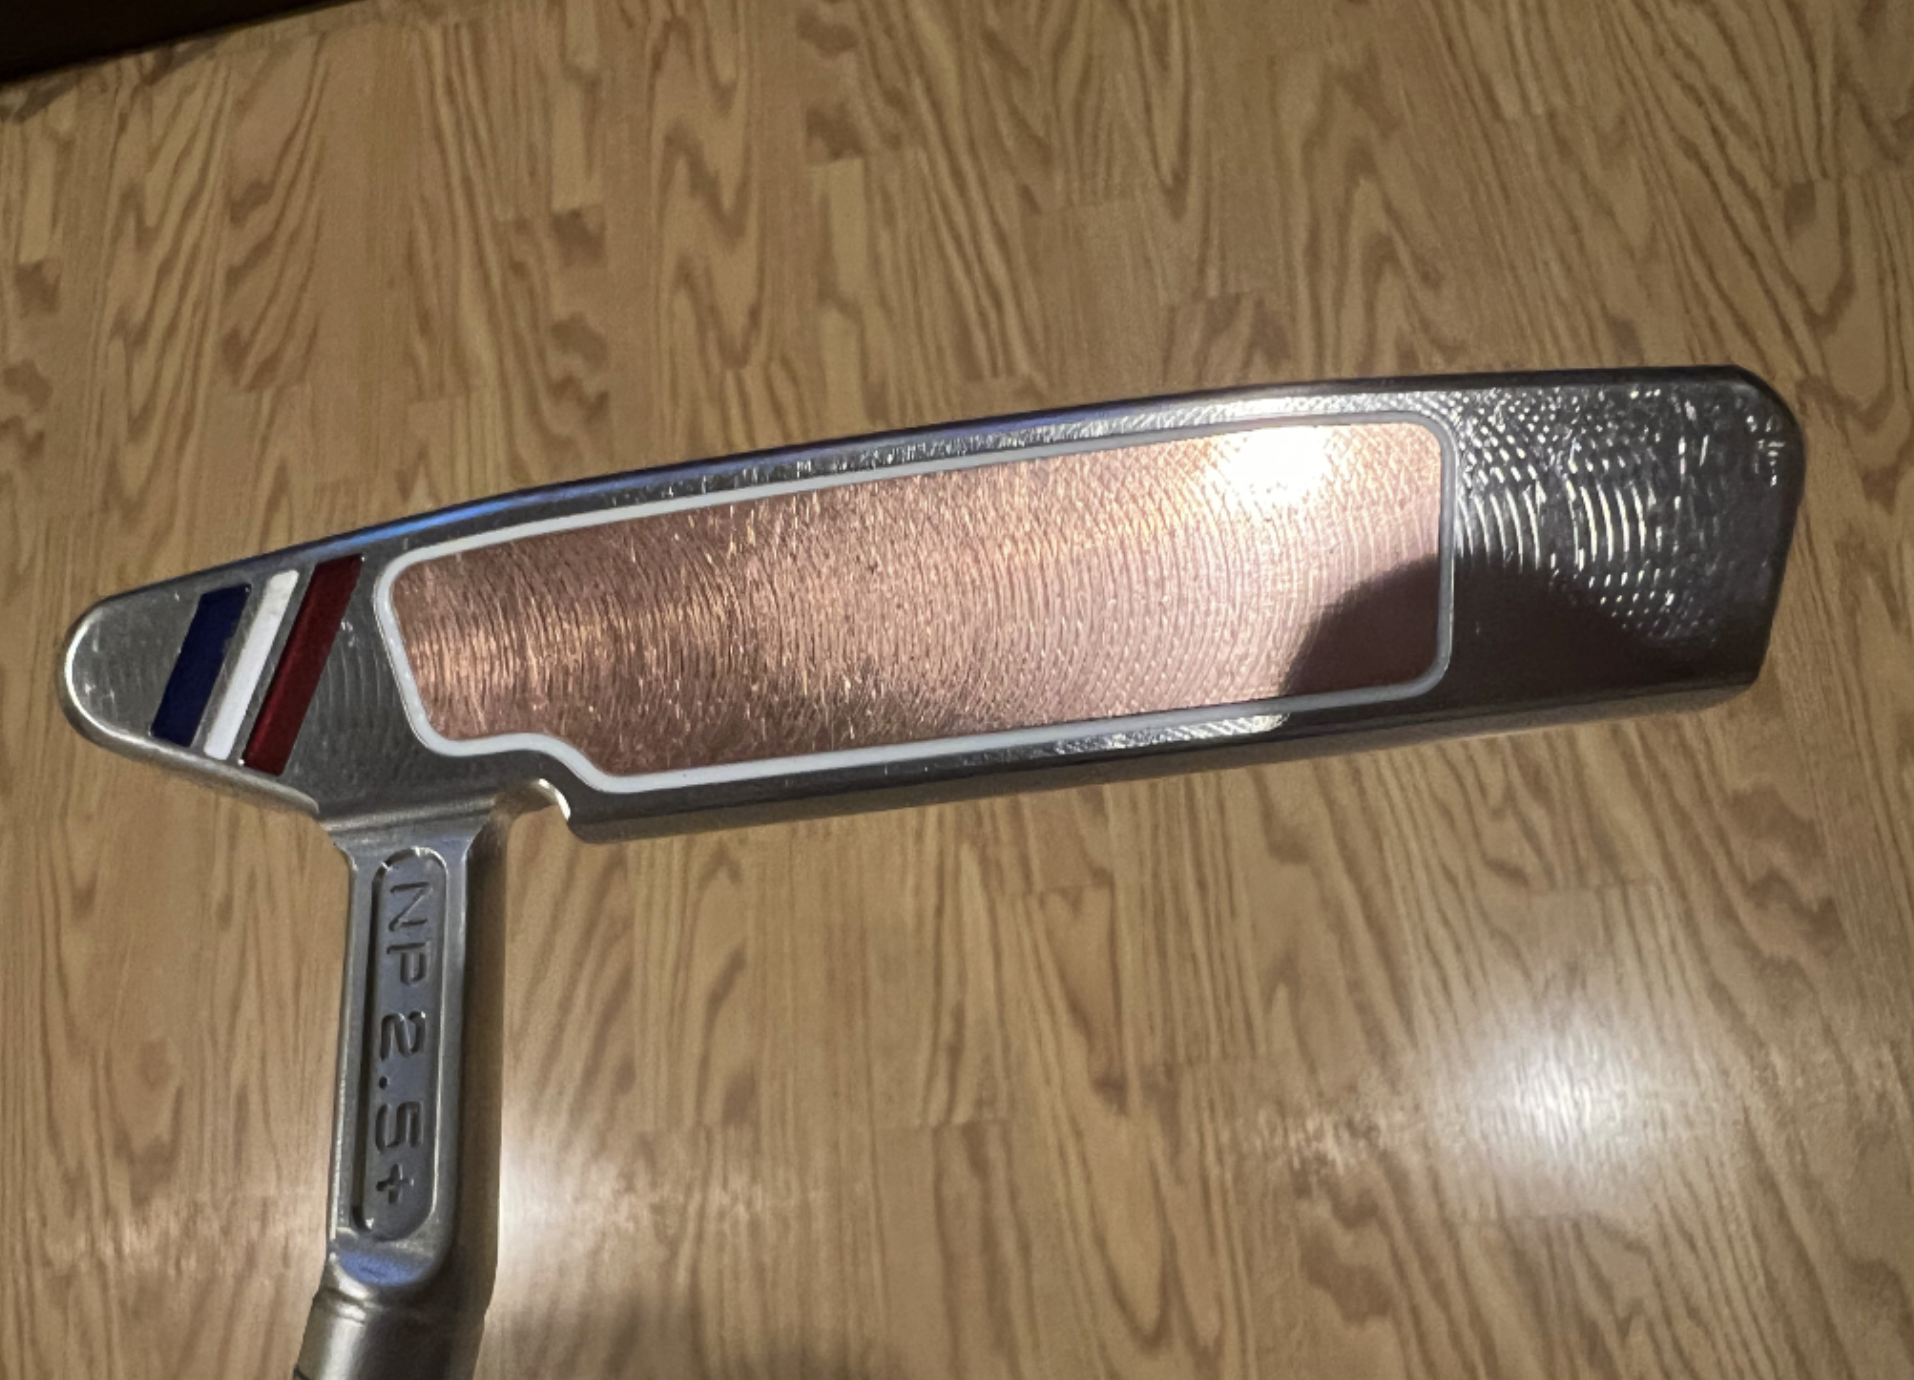
From the seller: (@wwcl): “Has been gamed as pics show. 33.5 includes original h/c and grip. $575 includes shipping and PP fees.”
To check out the full listing in our BST forum, head through the link: Scotty Cameron Champions Choice 2.5+ putter
This is the most impressive current listing from the GolfWRX BST, and if you are curious about the rules to participate in the BST Forum you can check them out here: GolfWRX BST Rules
- LIKE1
- LEGIT1
- WOW0
- LOL0
- IDHT0
- FLOP0
- OB0
- SHANK0
-

 19th Hole2 weeks ago
Justin Thomas on the equipment choice of Scottie Scheffler that he thinks is ‘weird’
-

 19th Hole2 weeks ago
‘Absolutely crazy’ – Major champ lays into Patrick Cantlay over his decision on final hole of RBC Heritage
-
 19th Hole3 weeks ago
Two star names reportedly blanked Jon Rahm all week at the Masters
-
 19th Hole3 weeks ago
Report: LIV Golf identifies latest star name they hope to sign to breakaway tour
-
 19th Hole3 weeks ago
Neal Shipley presser ends in awkward fashion after reporter claims Tiger handed him note on 8th fairway
-

 19th Hole2 weeks ago
Brandel Chamblee has ‘no doubt’ who started the McIlroy/LIV rumor and why
-

 19th Hole1 week ago
LET pro gives detailed financial breakdown of first week on tour…and the net result may shock you
-
 Equipment3 weeks ago
Jason Day on his recent switch into Srixon ZX5 and ZX7 Mk II irons










Larry
Jul 23, 2012 at 11:18 am
Man, I prefer to just play golf. The more club battle scars the better!
Joe
Jun 28, 2012 at 11:54 am
Great post. I have been doing this for a few years and the rubbing alcohol tip will come in handy. I have repainted the same area many times due to bubbles in the paint. For translucent paints the Tamiya is very good. For opaque paint I have had great success with nail polish. Don’t be scared to customize your stuff, it’s foolproof and you can keep trying until you get it right.
dtowngolf
Jun 21, 2012 at 7:11 pm
nice i inked all my clubs last year including my r11 driver and 3 wood, if you want to check these out here’s a link. Nice job on the Scotty though
http://www.golfwrx.com/forums/topic/682288-inkedpaint-filled-r11-driver-and-3-wood-and-other-clubs-after-a-year-of-use-still-the-ink-is-in-perfect-shapepics/
dan
Jun 21, 2012 at 1:27 pm
Nice stuff and tell them dodgers to eat one!!!!!!!!