Equipment
Paint fill 101

By GolfWRX member HuckleBogey_Finn
To see the original thread the viral discussion in the forums click here
As promised, after much trial and error I believe I have found a very good way to paint fill golf clubs. I will try to be as detailed as possible and I am including a few pics. They were taken with my iphone so the pics arent great, but I am extremely happy with the results. I have tried many paints, solvents and dilutes and this is by far the best combination I have found. I feel anyone can do this. I am sure there are other ways to get good results but this is my preferred way
I appreciate constructive criticisms and feel free to ask questions.
I went with a SF Giants color scheme here. All of you dodger fans can suck it 
First you need the tools. In this example I used Tamiya color paint in smoke, clear orange, clear red, and clear yellow. I also used testors model enamal for the top sight line. You will also need tal strip paint stripper, acetone nail polish remover, non-acetone nail polish remover, 91% rubbing alcohol, q-tips, toothpicks, towels, lint free rags, gloves (you don’t want paint stripper on your fingers!) an old toothbrush and PATIENCE!
To see the original thread the viral discussion in the forums click here

First thing you need to do is get rid of all the original paint. With a q-tip apply a liberal amount of tal strip to all painted areas. Wait 5-10 minutes and you will see blobs of paint bubbling out of the spaces.


To see the original thread the viral discussion in the forums click here
After all of the paint has bubbled out grab the toothbrush and in a sink you dont mind getting stained (or outside with the garden hose) scrub and rinse out all the spaces that had paint in them. The paint should come right out. Sometimes you may have a few remnants hanging around. If so reapply the stripper to these parts until you are left with only bare metal.


To see the original thread the viral discussion in the forums click here
Now take your acetone and give the whole head a good wash scrub. This will remove any oils or remnants of stripper and give you a nice clean surface for the paint. Let it all dry out and now its time to get to painting!
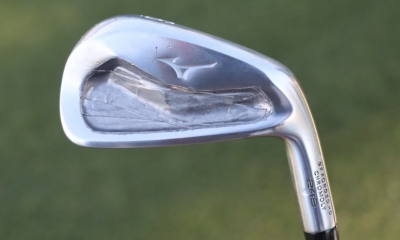
I first use a q-tip to apply a little of the rubbing alcohol to the spaces I’m going to paint. This thins the paint slightly to allow a nice glassy finish when it dries without bubbles. You just need the slightest sheen, not a puddle. This takes practice and it took me a few tries to get right. Now with a toothpick dipped in the paint start applying the paint into the spaces. The paint should “travel” to fill the spaces. If you go outside the lines a little bit thats ok, but start light then work your way thicker. When the paint starts to dry you will get a good feel for how it will finish. If you dont like the opacity, start over. Dont apply a coat over the first.
To see the original thread the viral discussion in the forums click here


The topline of the Kombi s was tough because of the angle. I decided on gloss white here for function over form.

To see the original thread the viral discussion in the forums click here
So now after all the paint is applied (depending on angles and position you may have to wait to do certain sections, but I recommend holding off on clean up until you are all done) you are going to have some over paint. No worries. Just let it all dry. This takes a while. Heat will help acrylic paints, but enamels only dry by oxidation and that takes time. I wait overnight.
After all the paint is dry grab a lint free cloth or used t-shirt and dip it into the non acetone remover. I use the non acetone here because it does the job without the fear of stripping the paint in the grooves. Using light pressure rub the moist rag over the over painted areas making sure not to get the cloth in the painted grooves until all the unwanted paint is gone.
Now you have a DIY custom club. The beauty of this is if you arent totally happy you can do it as many times as you want.
Enjoy the final product.


To see the original thread the viral discussion in the forums click here
- LIKE20
- LEGIT3
- WOW2
- LOL3
- IDHT1
- FLOP1
- OB1
- SHANK3

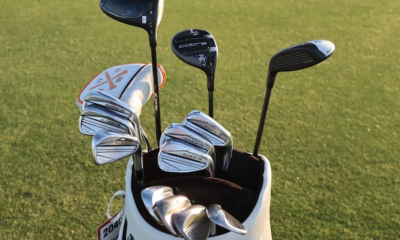
- Kevin Chappell what’s in the bag accurate as of the Valero Texas Open. More photos from the event here.
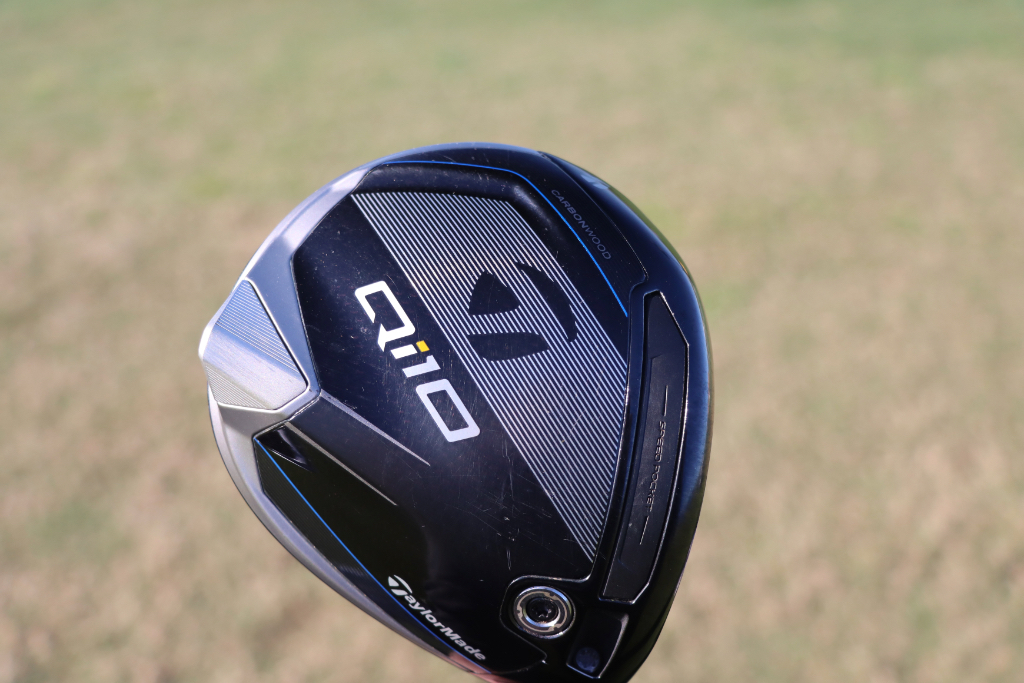
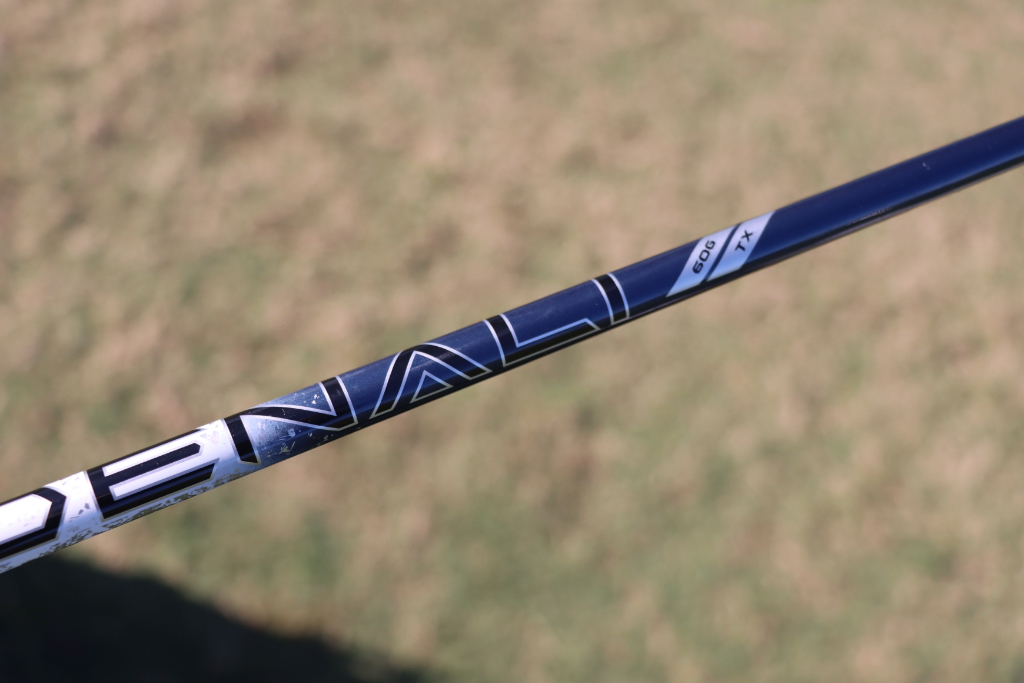
Driver: TaylorMade Qi10 (10.5 degrees)
Shaft: Project X Denali Black 60 TX
3-wood: TaylorMade Stealth 2 HL (16.5 degrees)
Shaft: Fujikura Ventus TR Blue 7 X
7-wood: Cobra King LTDx Prototype (21.5 degrees @20.5 degrees)
Shaft: Fujikura Ventus Black 9 X
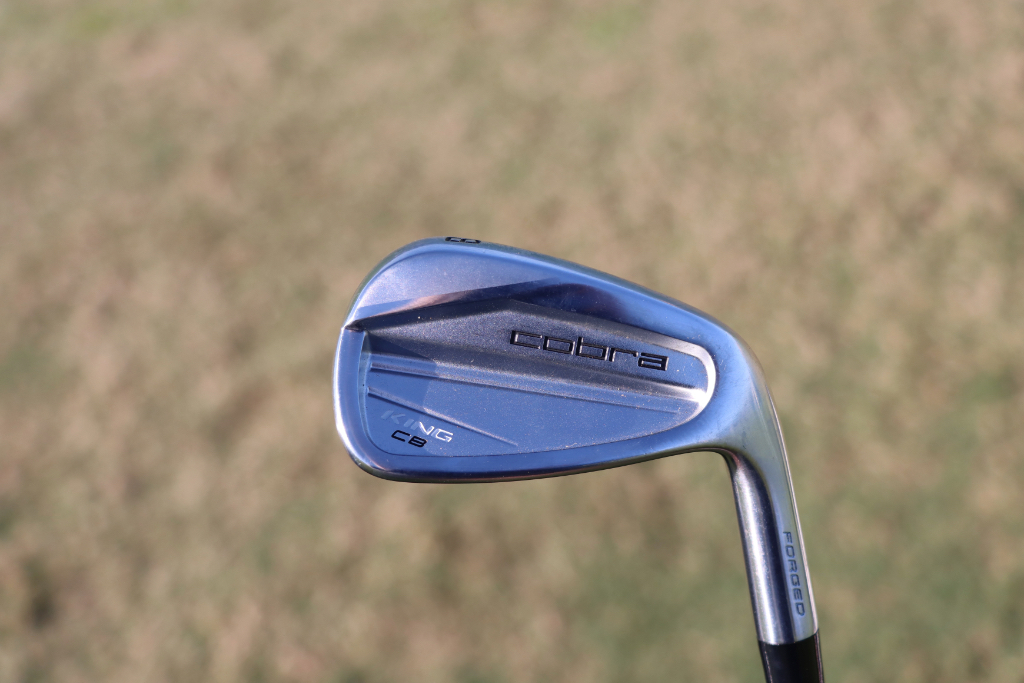
Irons: Srixon ZX (3), Cobra King CB (4-PW)
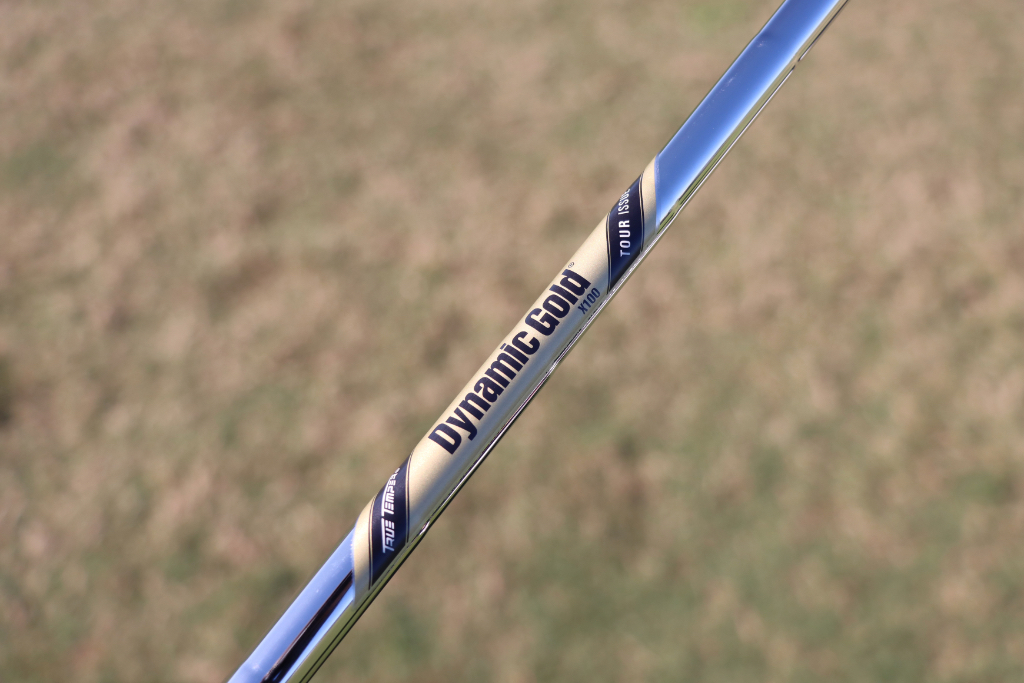
Shafts: True Temper Dynamic Gold Tour Issue S400
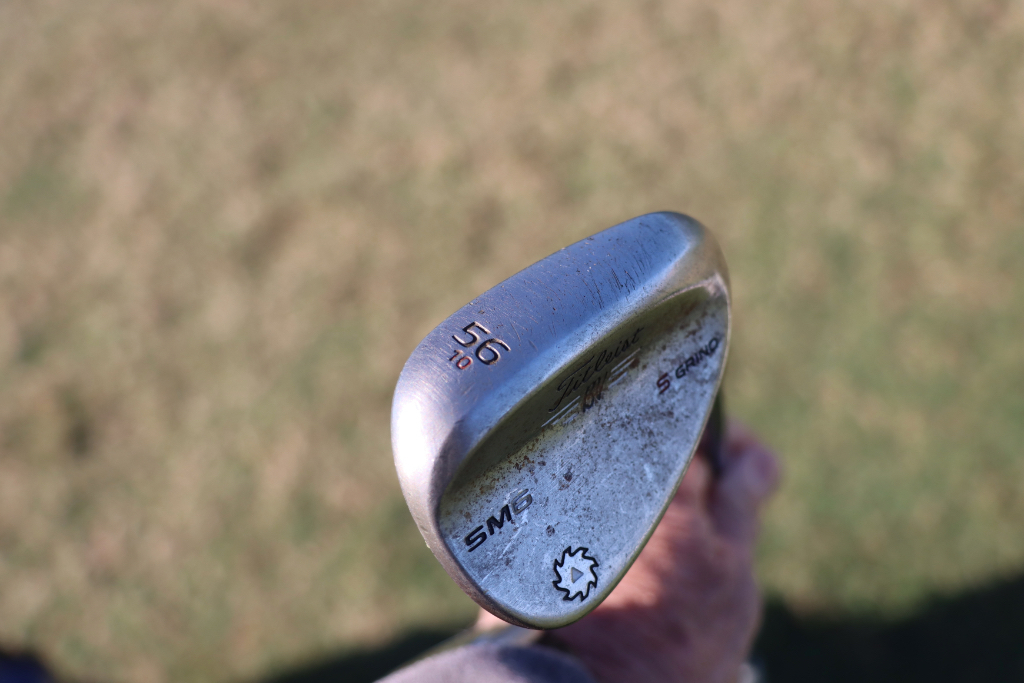
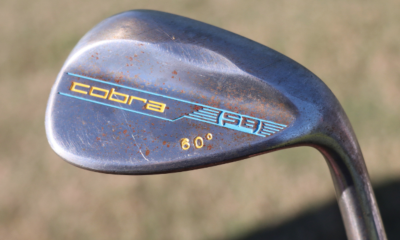
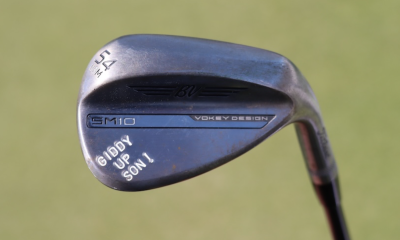
Wedges: Titleist Vokey Design SM6 (52-08F, 56-10S), Cobra Snakebite (60)
Shafts: True Temper Dynamic Gold Tour Issue S400
Putter: Scotty Cameron SB-2, Scotty Cameron TourType TG6.2
Grip: SuperStroke Traxion Flatso 1.0
Ball: Titleist Pro V1x
Grips: Golf Pride MCC
Check out more in-hand photos of Kevin Chappell’s clubs here.
- LIKE2
- LEGIT0
- WOW0
- LOL0
- IDHT0
- FLOP0
- OB0
- SHANK0
We have seen an uptick in longer putters out on the professional tours with players gravitating toward either counterbalanced or broomstick styles. As a refresher, A “broomstick” putter is a long putter that is usually built to a length that goes up to your chest. If you have seen Adam Scott putt in a tournament recently, he uses what is classified as a broomstick putter.
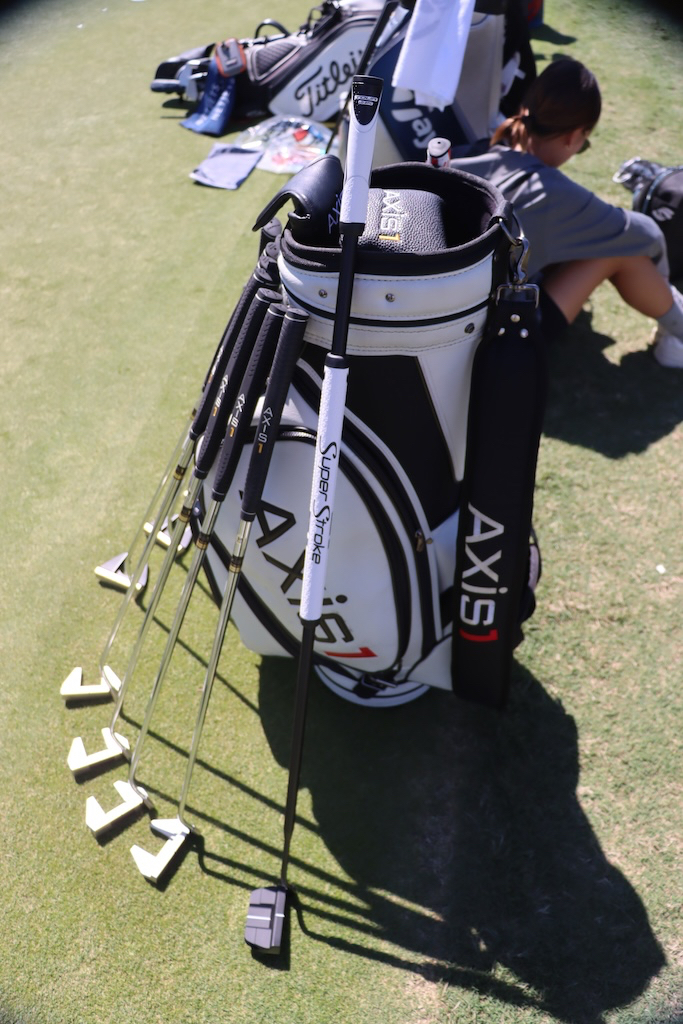
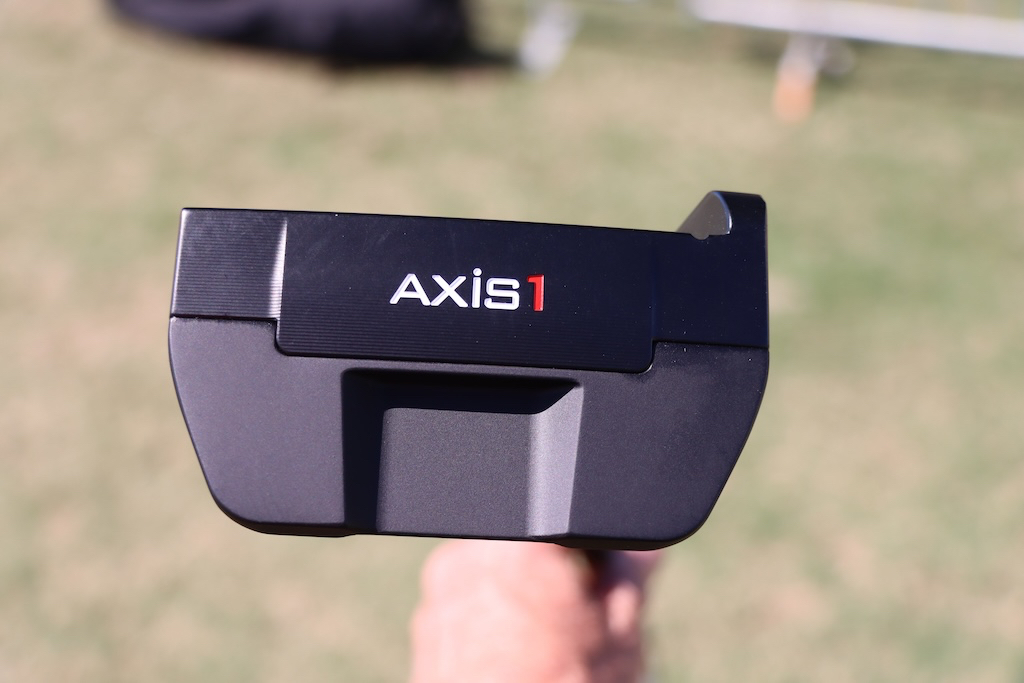
Axis1 might not be the most common brand in the world of putters but they have been around a while, most notably in Justin Rose’s bag.
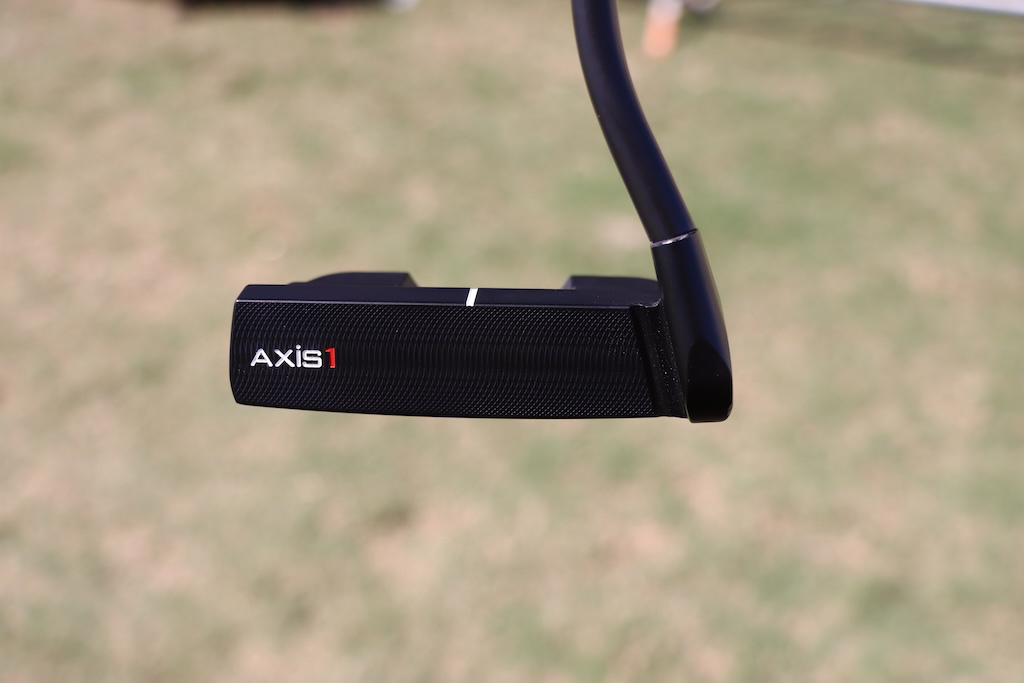
Axis1 is known for a putter that doesn’t look traditional but a design is used to get the center of gravity to the center of the club face, aligned with the shaft. This technology keeps the face aligned with the ball throughout the stroke. More traditional putters rotate around the shaft axis, which doesn’t align with the center of the putter, making it easier for the putter face to not be square to the target at impact.
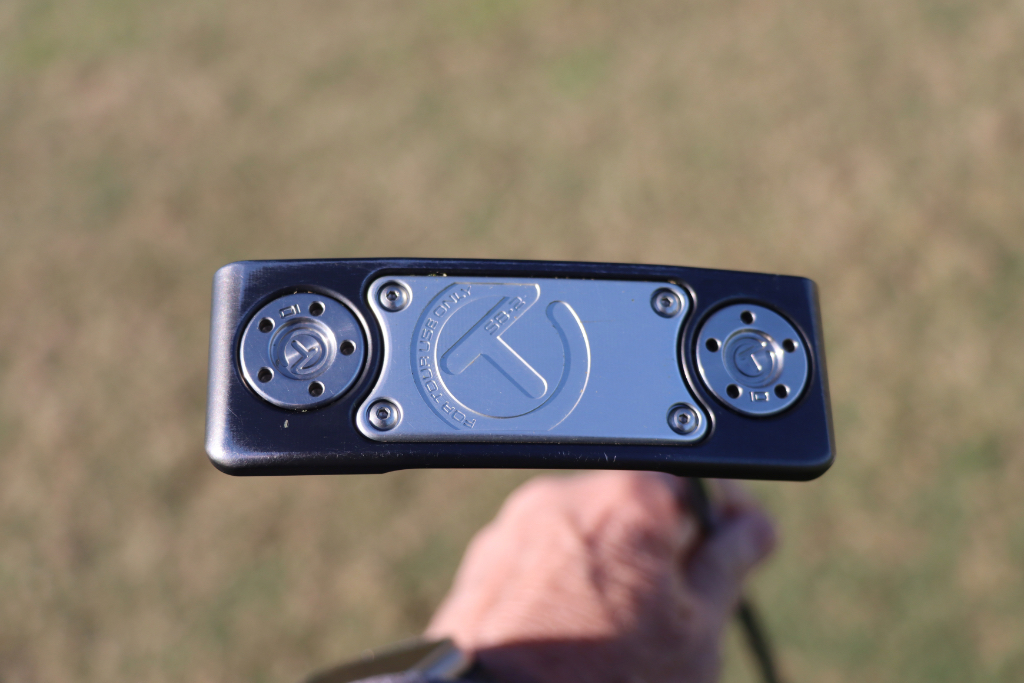
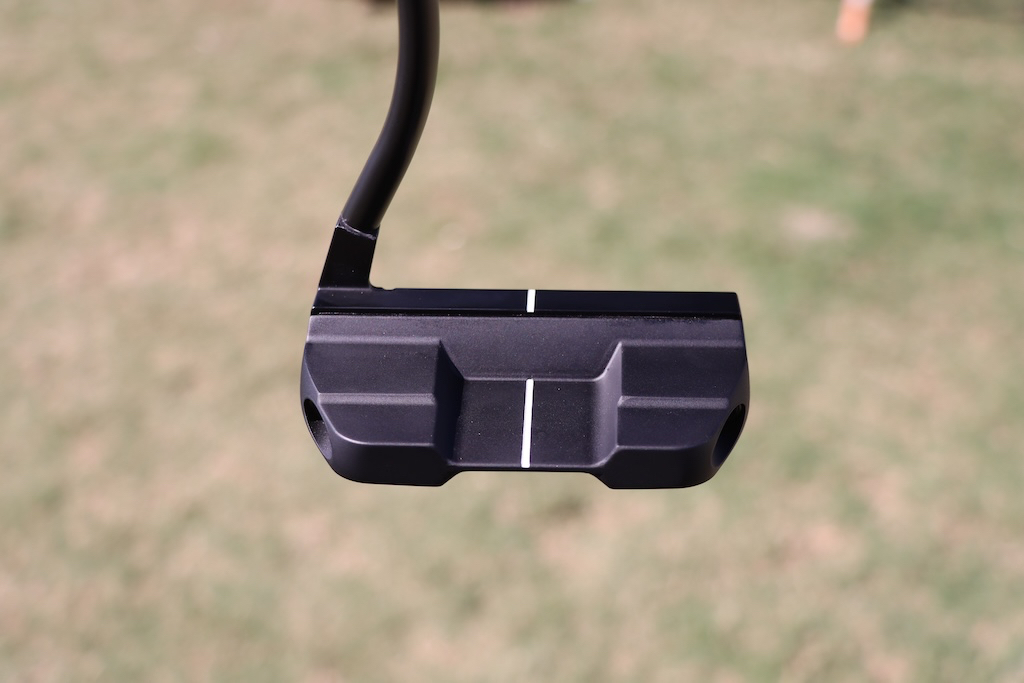
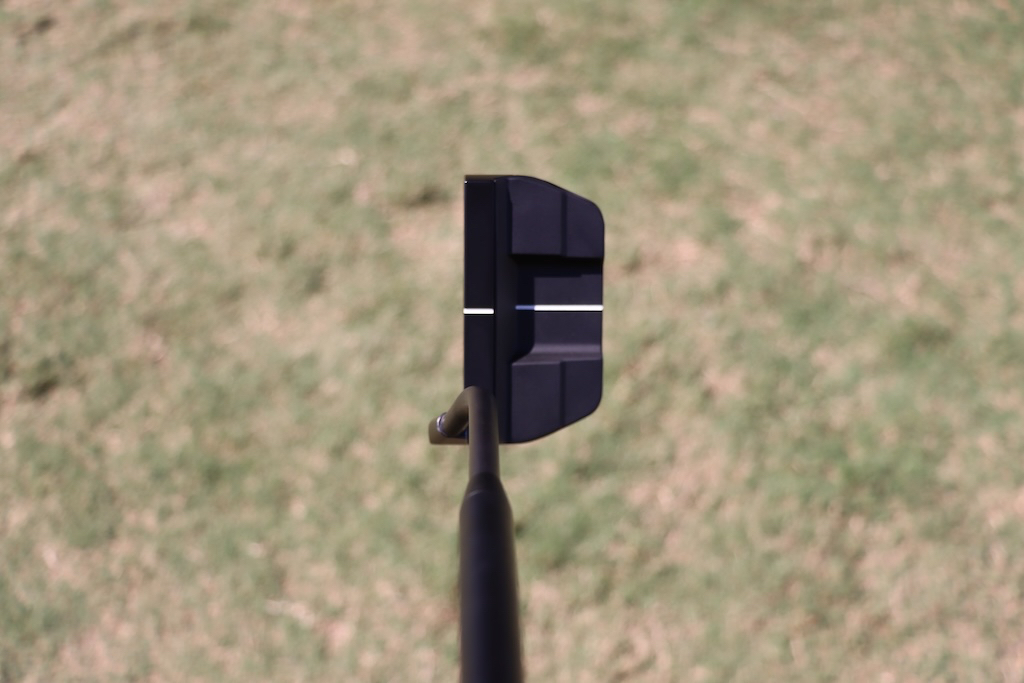
This week at the Valero Texas Open, we spotted a prototype Axis1 putter in a long broomstick version. The head shape looks very similar to the current Axis1 Tour-HM putter that the company currently makes, which is a more squared-off mid-mallet. The prototype looks to have a similar multi-material head with a 304 stainless steel face mated to a composite back. Twin site lines run together, on the topline and on the flange, to create a longer line for aligning the putter. The steel face has a fairly shallow milling to it, and the flowing heel hosel connects to the aggressive shaft bend.
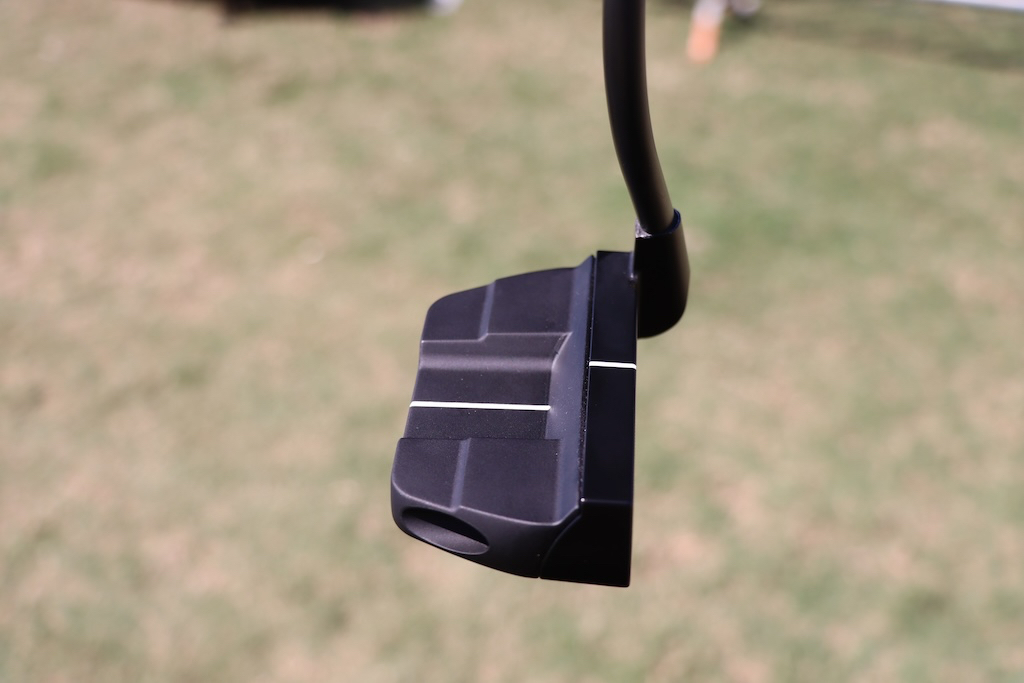
A matching black shaft is installed, and at the grip end is Super Stroke’s Zenergy Tour 1.0 two-piece in white and black. No word on if or when this will come to retail yet.
- Check out the rest of our photos from the 2024 Valero Texas Open
- LIKE7
- LEGIT1
- WOW3
- LOL0
- IDHT0
- FLOP0
- OB0
- SHANK2
Equipment
Coolest thing for sale in the GolfWRX Classifieds (4/4/24): Mint set of TaylorMade Qi 10 irons
At GolfWRX, we are a community of like-minded individuals that all experience and express our enjoyment of the game in many ways.
It’s that sense of community that drives day-to-day interactions in the forums on topics that range from best driver to what marker you use to mark your ball. It even allows us to share another thing we all love – buying and selling equipment.
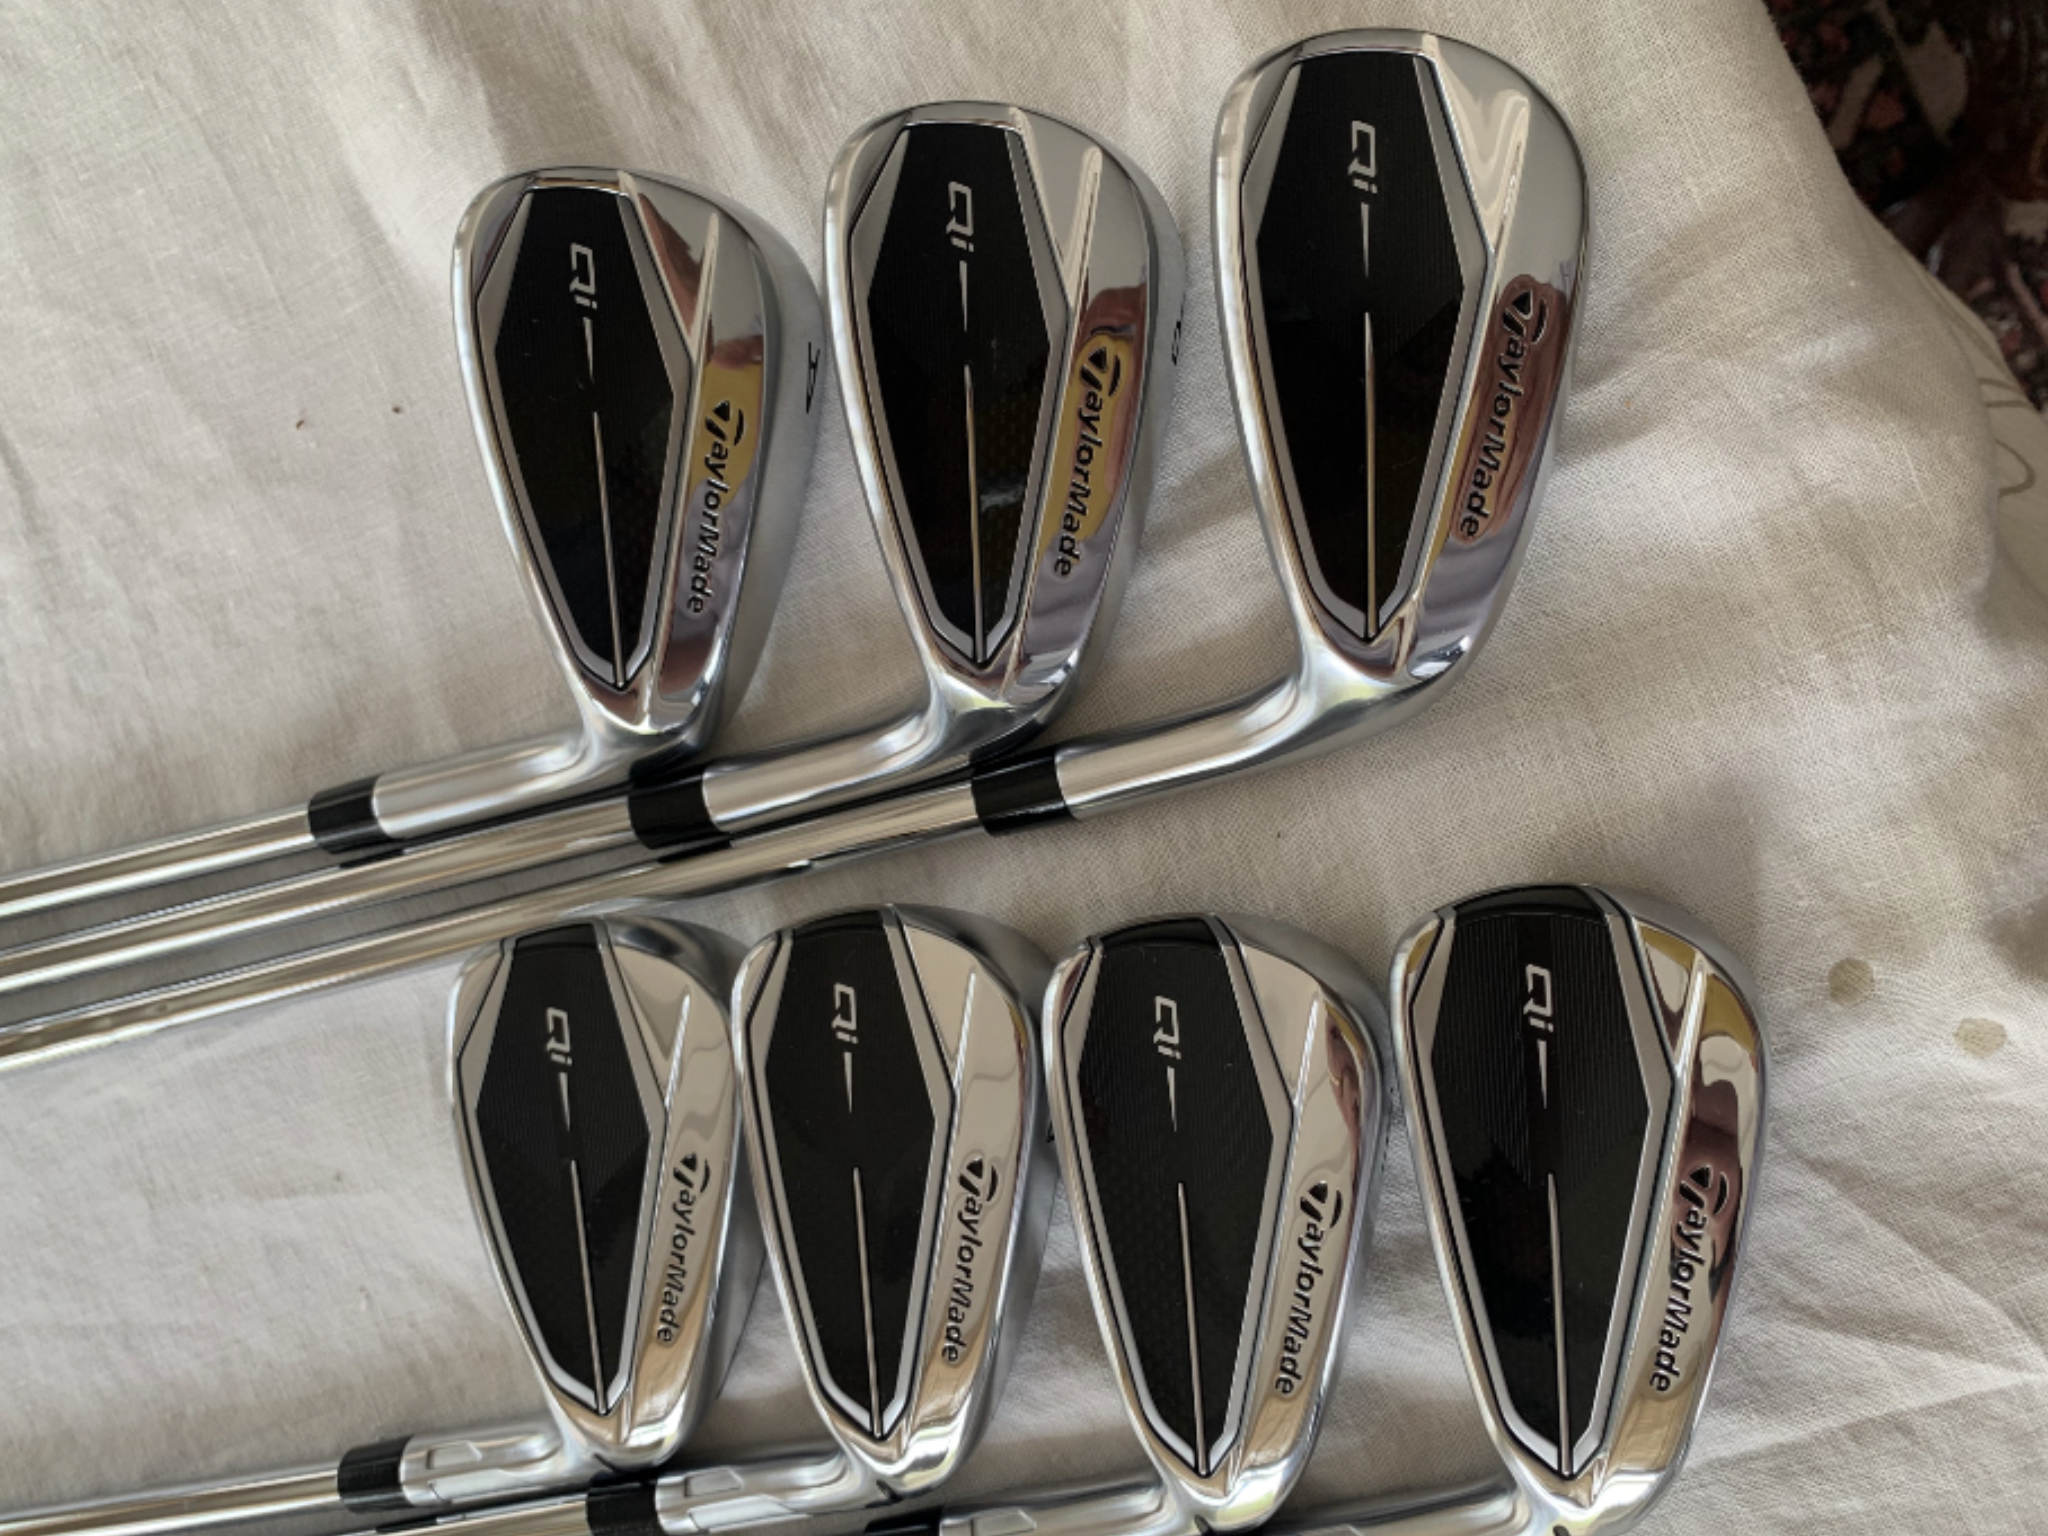
Currently, in our GolfWRX buy/sell/trade (BST) forum, there is a listing for a Mint set of TaylorMade Qi 10 irons.
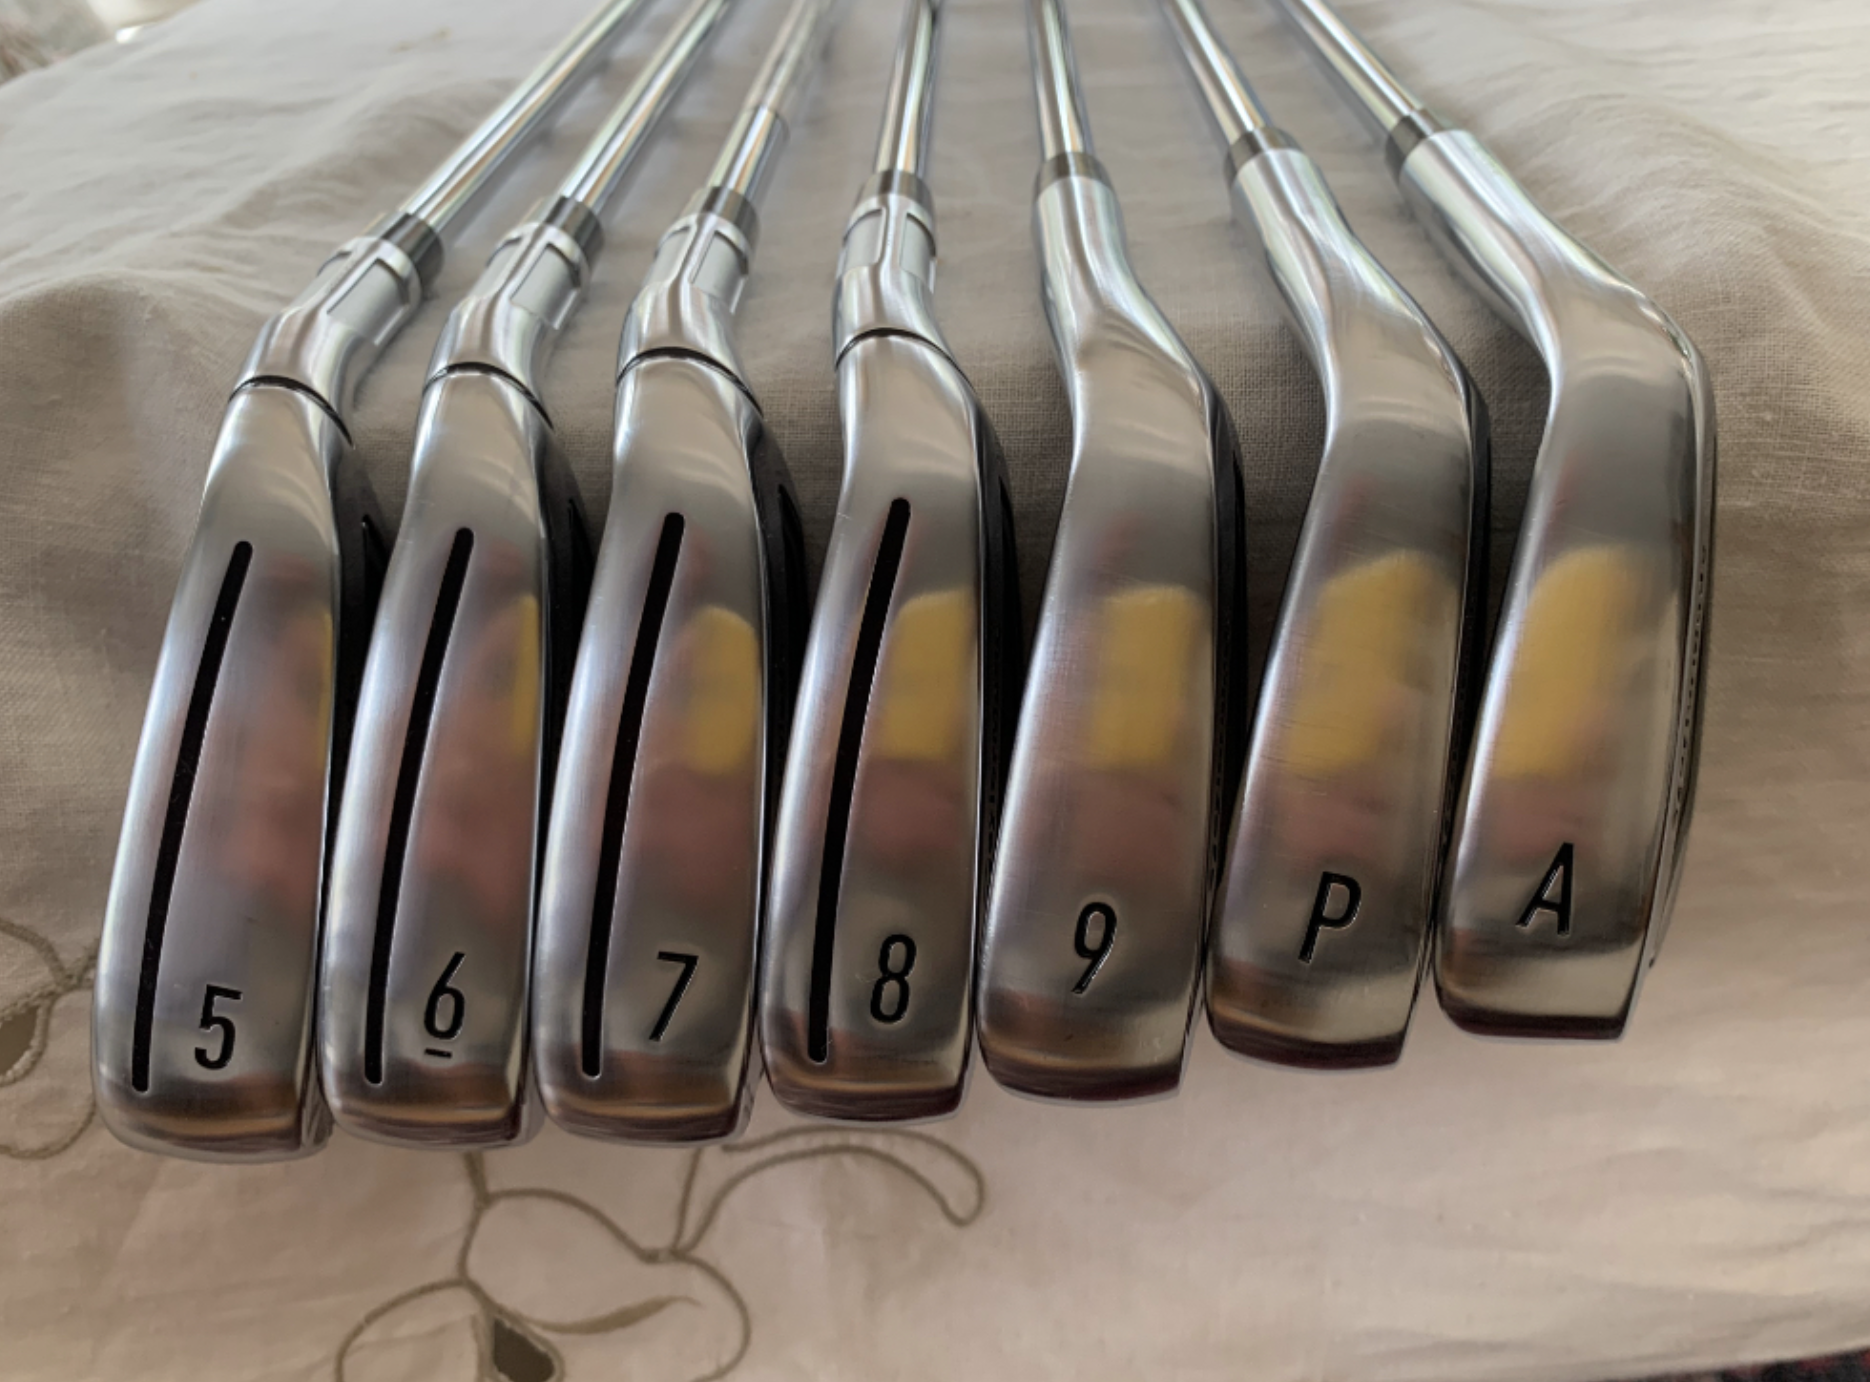
From the seller: (@ch1985): “Mint set of TaylorMade qi 10 irons 5-PW, AW (used 1 round and some range balls) with factory stiff steel shaft – $925 shipped.”
To check out the full listing in our BST forum, head through the link: Mint set of TaylorMade Qi 10 irons
This is the most impressive current listing from the GolfWRX BST, and if you are curious about the rules to participate in the BST Forum you can check them out here: GolfWRX BST Rules
- LIKE2
- LEGIT0
- WOW0
- LOL0
- IDHT0
- FLOP0
- OB0
- SHANK0


Tour pro calls Anthony Kim a ‘f*****g idiot’ following Instagram comeback post

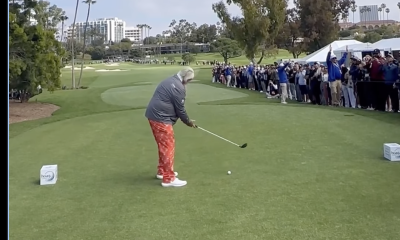
John Daly stuns fans into silence with brutal opening tee shot on PGA Tour Champions

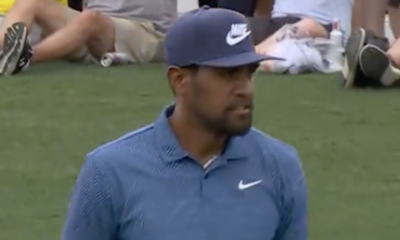
Things got heated at the Houston Open between Tony Finau and Alejandro Tosti. Here’s why

Anthony Kim WITB 2024 (February)

This Rory McIlroy post-round ‘The Match’ moment is going viral…but all is likely not what it seems

Scottie Scheffler WITB 2024 (March)

Photos from the 2024 Arnold Palmer Invitational

Anthony Kim’s speculated LIV Golf sign-on fee may surprise you

The total sum that Sergio Garcia needs to pay in fines if he wants to return to DP World Tour revealed

Joaquin Niemann names 3 PGA Tour events he’d love to play each year ‘in a perfect world’

Kevin Chappell WITB 2024 (April)
Kevin Chappell what’s in the bag accurate as of the Valero Texas Open. More photos from the event here. Driver:...

Raul Pereda WITB 2024 (April)
Raul Pereda what’s in the bag accurate as of the Texas Children’s Houston Open. More photos from the event here....

Rickie Fowler WITB 2024 (April)
Rickie Fowler what’s in the bag accurate as of the Valero Texas Open. More photos from the event here. Driver: Cobra...

Callum McNeill WITB 2024 (April)
Callum McNeill what’s in the bag accurate as of the Texas Children’s Houston Open. More photos from the event here....
-
 19th Hole2 weeks ago
John Daly stuns fans into silence with brutal opening tee shot on PGA Tour Champions
-
 19th Hole4 days ago
Things got heated at the Houston Open between Tony Finau and Alejandro Tosti. Here’s why
-

 19th Hole2 weeks ago
2-time major champ announces shock retirement from the sport at age of 33
-

 19th Hole2 weeks ago
Charlie Woods finds it tough going on American Junior Golf Association debut
-
 19th Hole2 weeks ago
Edoardo Molinari reveals the latest PGA Tour golfer to turn down ‘good offer’ from LIV Golf
-
 19th Hole14 hours ago
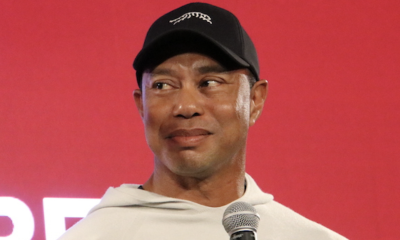
Report: Tiger Woods has ‘eliminated sex’ in preparation for the 2024 Masters
-
 19th Hole3 weeks ago
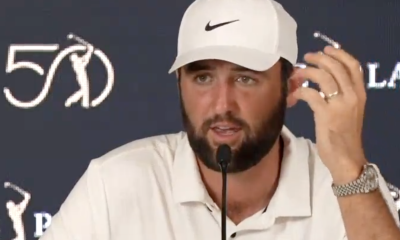
Scottie Scheffler had an interesting response when asked how he ‘quiets the noise’ following Players victory
-
 19th Hole2 weeks ago
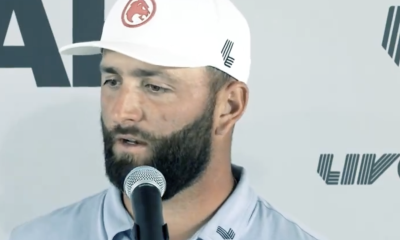
Jon Rahm dealt fresh blow to hopes of qualifying for 2025 Ryder Cup
Larry
Jul 23, 2012 at 11:18 am
Man, I prefer to just play golf. The more club battle scars the better!
Joe
Jun 28, 2012 at 11:54 am
Great post. I have been doing this for a few years and the rubbing alcohol tip will come in handy. I have repainted the same area many times due to bubbles in the paint. For translucent paints the Tamiya is very good. For opaque paint I have had great success with nail polish. Don’t be scared to customize your stuff, it’s foolproof and you can keep trying until you get it right.
dtowngolf
Jun 21, 2012 at 7:11 pm
nice i inked all my clubs last year including my r11 driver and 3 wood, if you want to check these out here’s a link. Nice job on the Scotty though
http://www.golfwrx.com/forums/topic/682288-inkedpaint-filled-r11-driver-and-3-wood-and-other-clubs-after-a-year-of-use-still-the-ink-is-in-perfect-shapepics/
dan
Jun 21, 2012 at 1:27 pm
Nice stuff and tell them dodgers to eat one!!!!!!!!