Instruction
Rethink how you practice your putting
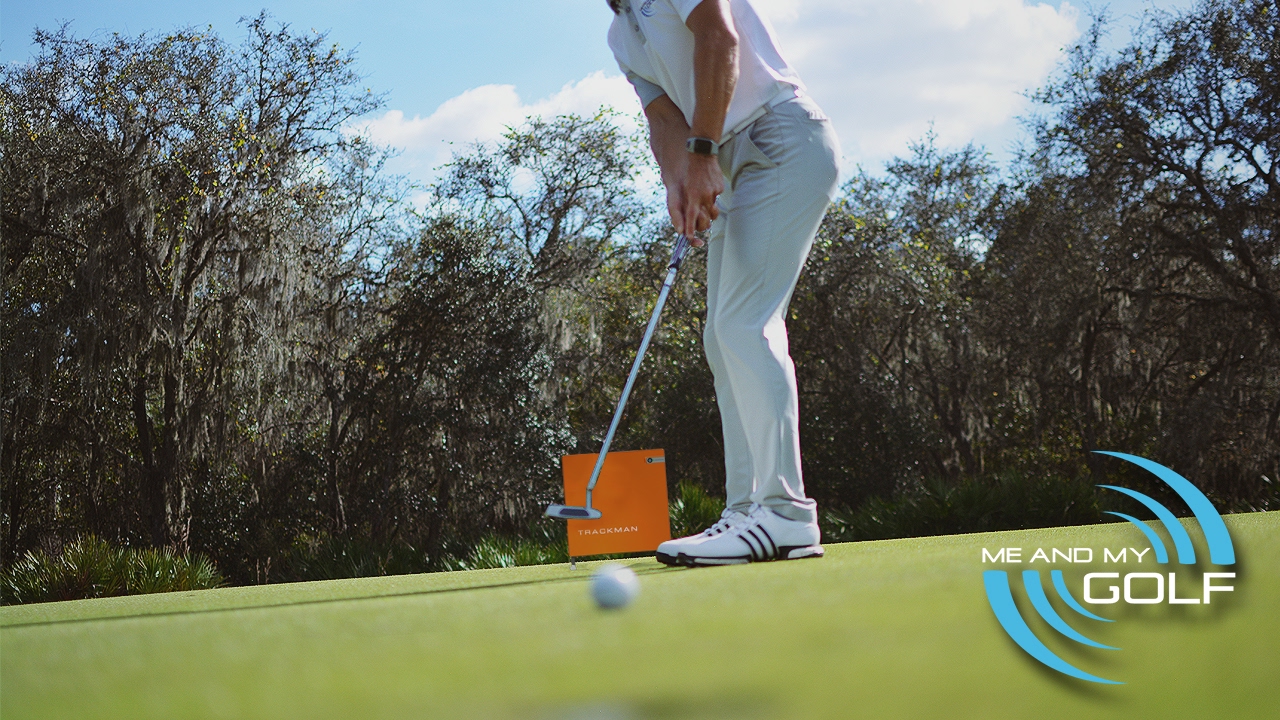
If you want to make more putts, you should begin by concentrating more on the putter face instead of the path that it travels on.
I see many golfers who work on their putting strokes by trying to perfect their path going back and through. If you are one of those players, you may want to re-think things. Research has shown through SAM Puttlab that putter face alignment is responsible for 83 percent of a putt’s starting direction. With that being said, if the path is only responsible for 17 percent of where the ball starts, why are you spending so much time trying to perfect it?
As a golf coach, I used to spend a lot of time trying to perfect the path that the putter travels during the putting stroke. As technology continues to evolve in our industry, however, we have to adapt to help our players improve their performance. When I found out the face angle is five times more important than the path, I immediately had to rethink how I taught putting.
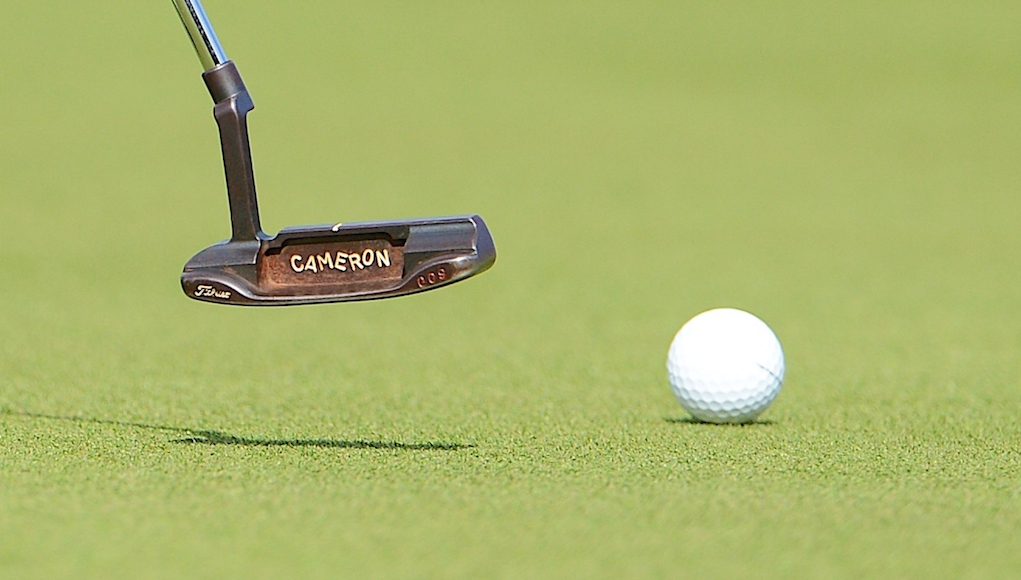
When looking at the best putters of all time, you’ll find that many have different set-ups, grips, stance widths, tempos, ball positions and paths. The only constant is they all square the putter face to their intended starting line at impact and strike their putts at the same location on the putter face time after time.
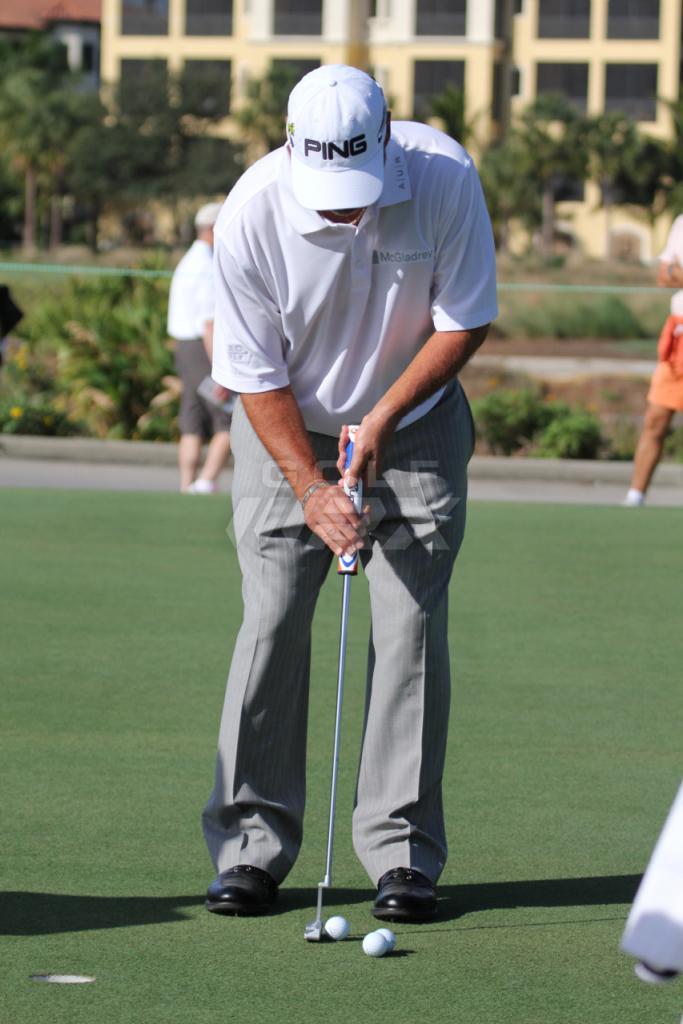
Above: Chris DiMarco has won three events on the PGA Tour using a “claw” putting grip.
The great thing about putting and putting well is that there are so many different ways to do it. Putting is an individual art and it should be taught that way. Look at players like Loren Roberts and Brandt Snedeker, for example. If someone got to Loren Roberts at a young age and tried to change his notoriously long and slow stroke, he probably wouldn’t be the great putter that he is today.
Brandt Snedeker is the opposite, as he has a very short and quick stroke, but it’s very effective. Would you teach that to someone? Probably not, but both players are able to consistently square their putter to the intended start line and that is why they are great putters!
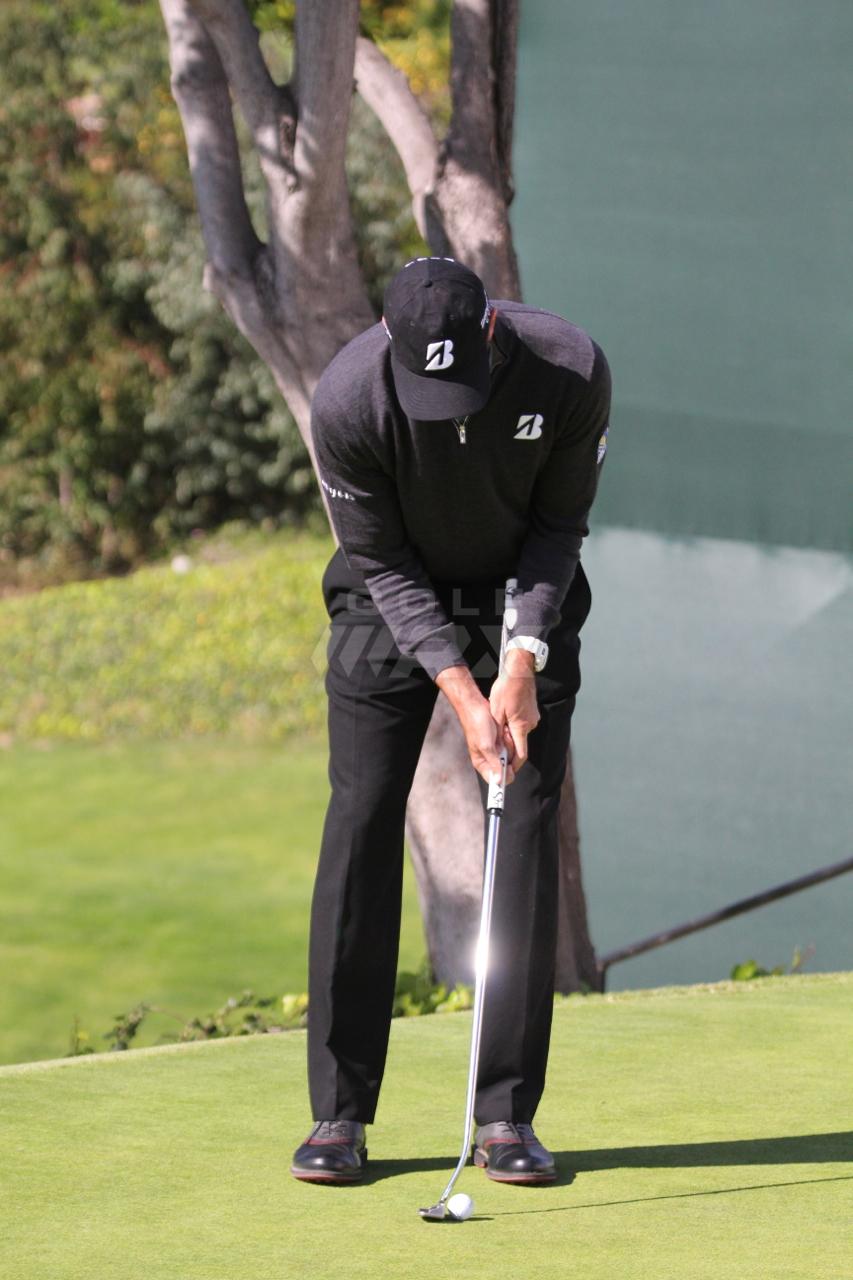
Above: Matt Kuchar has used the “Arm Lock” putting style for four of his seven PGA Tour wins.
In order to square the face to the player’s intended start line at impact, I have found that it’s very important to get the player’s face angle at address aligned within about 1-to-2 degrees of their intended start line. This makes for less manipulations during the stroke, which will lead to more consistency and more holed putts, especially from shorter distances.
I like to use a few of the drills below to help golfers improve their face angles when putting. After the drills, I have listed a few troubleshooting tips for anyone having issues with the drills. I would recommend you only pay attention to the troubleshooting area if you find you’re having a tough time, otherwise as I stated above, there are many ways to get the ball in the hole and the below drills can help you begin to hole more putts.
The Ruler Drill
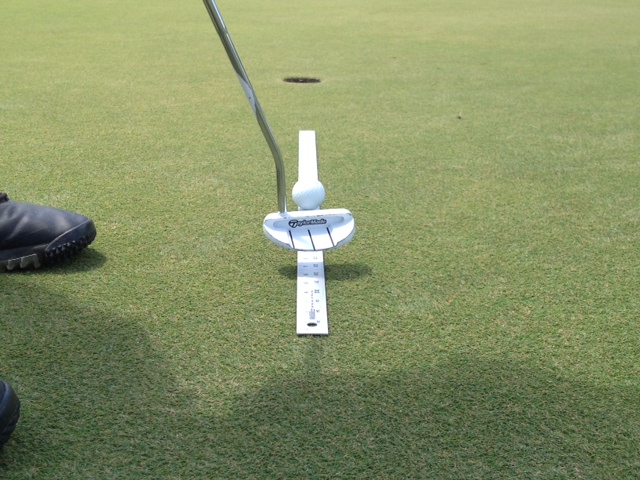
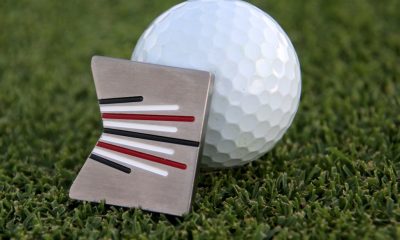
This is one of my favorite drills to help face alignment at address and impact. You will first need to find a ruler. If you don’t have one, I would suggest picking up a metal ruler at your local store. They only cost a few dollars.
Once you have your ruler, you need to align it where the golf ball needs to start. This drill should be used no more than 7 feet from the hole. Place the ball at one side of the ruler, square the face to the ruler at address, make your putting stroke and try to keep the ball rolling down the ruler through its entire length. If you can do this, you have done two things.
- You have squared the face at impact.
- You have most likely struck the ball “square,” allowing it to roll on its intended line.
The Two Ball Drill
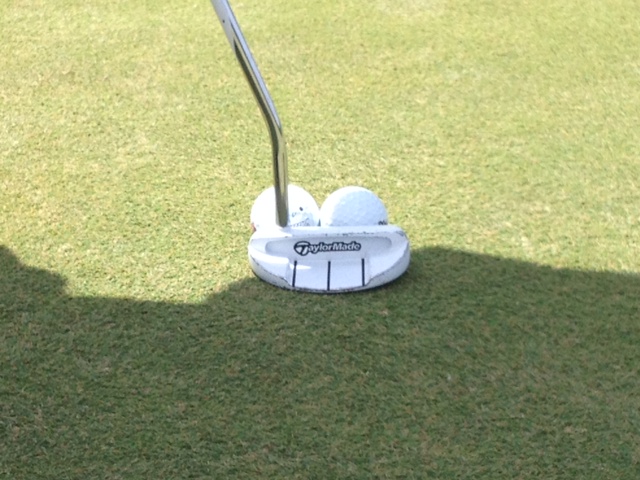
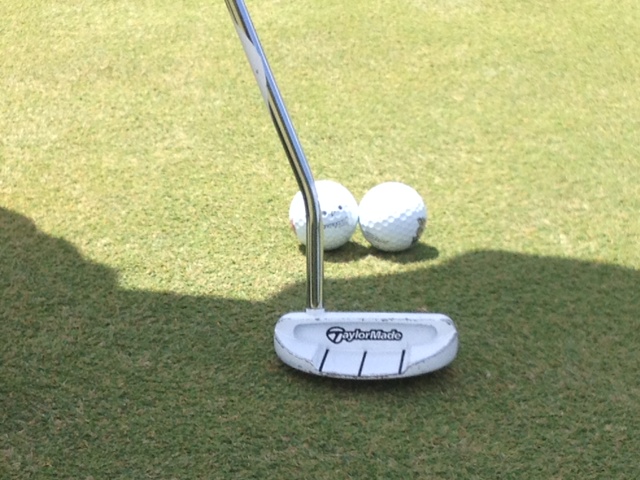
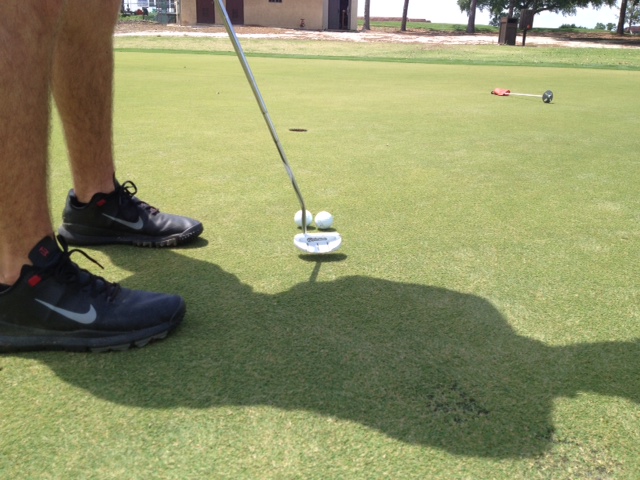
This is a great drill to give golfers automatic feedback of what their putter face is doing at the moment of impact. All you need is two golf balls to start.
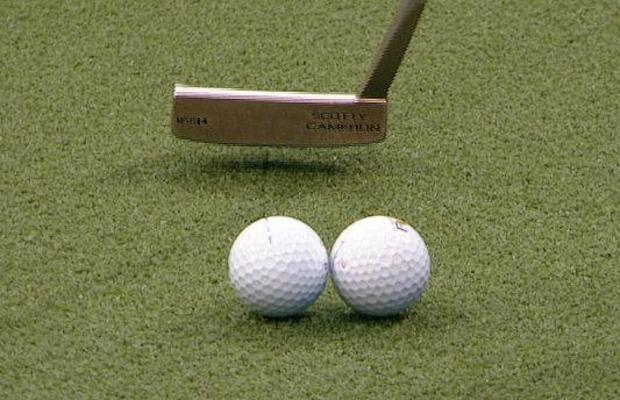
Place the two golf balls next to each other and make sure they are both flush with the putter face at address. Make a stroke and pay attention to what both golf balls do after impact. If the heel ball takes off first and travels farther, the putter face was open at impact. If the toe ball goes farther, the face was closed at impact. If done correctly, both balls should roll close together and around the same speed. This will show a square face angle at impact.
The Gate Drill
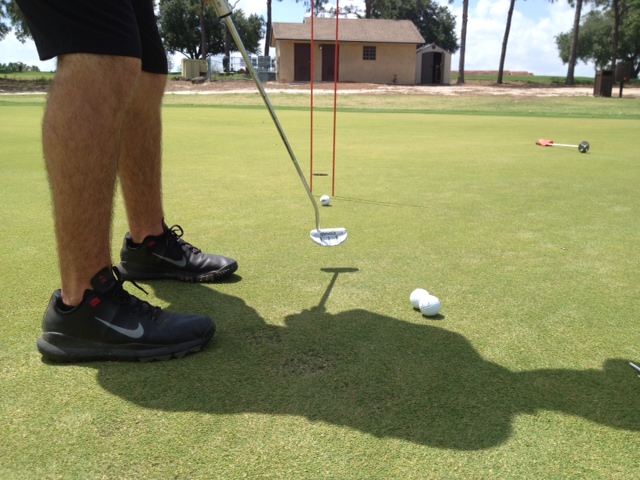
After getting a good feel for the proper face angle at address and impact using the ruler drill and two ball drill, the player can advance to the gate drill. This is a great drill to see how you are progressing after the first two drills.
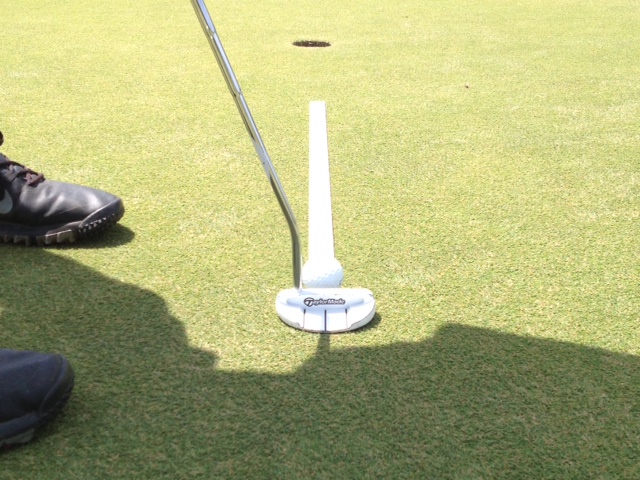
You’ll see I used two alignment sticks for a good visual, but two tees work just as well. This drill should be started at about 10 feet from the hole and on a straight putt. The player should place the two tees half way between them and the hole. The tees should be about 3-to-4 inches apart.
If the player has good face angles at impact on a solid strike, they will have a great chance of rolling the ball between the two tees and holing the putt. Once the player is successful with the straight putt, they should find a breaking putt and do the same. When working on breaking putts, I suggest that players hit a few putts first to find the apex point. Then place the two tees halfway between you and the hole, and see how well you can do on a breaking putt. As you begin to master this drill, you should move farther back and test how well you can judge line and speed.
Troubleshooting
If you find that you are struggling with any of the above drills, I’d like to suggest a few items that should help. Many times, improper face angle can be caused by a few of the items listed below. Again, only make adjustments if you are consistently struggling with any of the drills.
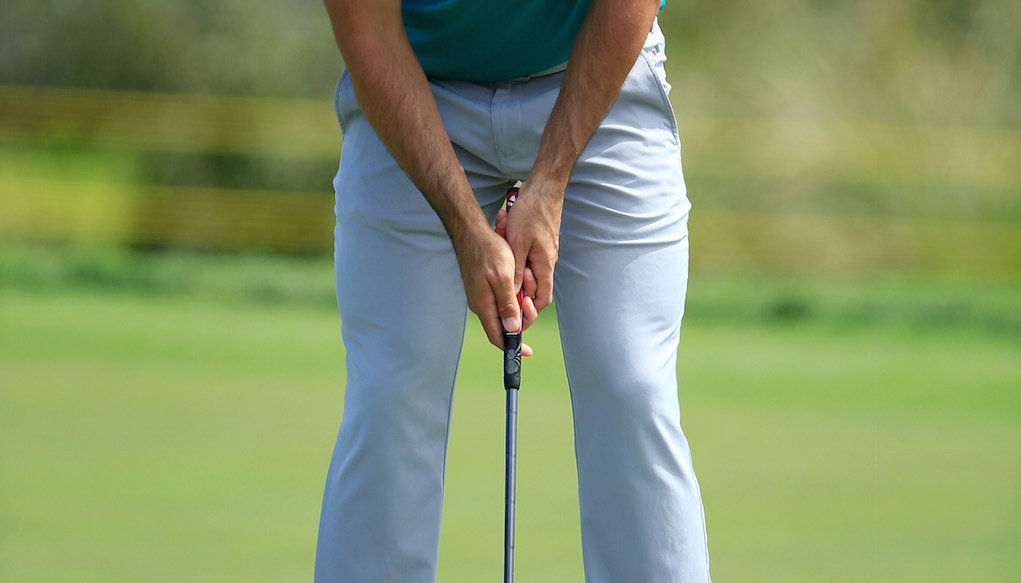
- Setup: Bend slightly from the ball joints of the hips. Your triceps should rest close to your rib cage, ball position should be slightly forward of your nose, hand position should be between your nose and forward eye and no matter what grip you use, it should run through the lifelines of both hands (with both palms facing each other).
- Lower body stability: Pretend that the lower body is rooted into the ground and cannot move during the stroke. This will help with face angle consistency at impact as well as overall speed control.
- Passive hands: Think about using the bigger muscles only. The torso/shoulders do all the work, and the hands should stay passive and maintain the same angle player started at address. Many problems are created because the trail hand gets overactive, effecting face angle at impact.
- LIKE18
- LEGIT3
- WOW2
- LOL1
- IDHT1
- FLOP1
- OB1
- SHANK4
Instruction
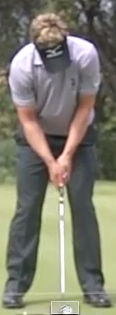
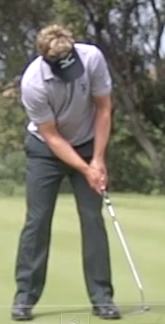
Clement: Laid-off or perfect fade? Across-the-line or perfect draw?

Some call the image on the left laid off, but if you are hitting a fade, this could be a perfect backswing for it! Same for across the line for a draw! Stop racking your brain with perceived mistakes and simply match backswing to shot shape!
- LIKE0
- LEGIT0
- WOW0
- LOL0
- IDHT0
- FLOP0
- OB0
- SHANK0
Instruction
The Wedge Guy: The easiest-to-learn golf basic
My golf learning began with this simple fact – if you don’t have a fundamentally sound hold on the golf club, it is practically impossible for your body to execute a fundamentally sound golf swing. I’m still a big believer that the golf swing is much easier to execute if you begin with the proper hold on the club.
As you might imagine, I come into contact with hundreds of golfers of all skill levels. And it is very rare to see a good player with a bad hold on the golf club. There are some exceptions, for sure, but they are very few and very far between, and they typically have beat so many balls with their poor grip that they’ve found a way to work around it.
The reality of biophysics is that the body moves only in certain ways – and the particulars of the way you hold the golf club can totally prevent a sound swing motion that allows the club to release properly through the impact zone. The wonderful thing is that anyone can learn how to put a fundamentally sound hold on the golf club, and you can practice it anywhere your hands are not otherwise engaged, like watching TV or just sitting and relaxing.
Whether you prefer an overlap, interlock or full-finger (not baseball!) grip on the club, the same fundamentals apply. Here are the major grip faults I see most often, in the order of the frequency:
Mis-aligned hands
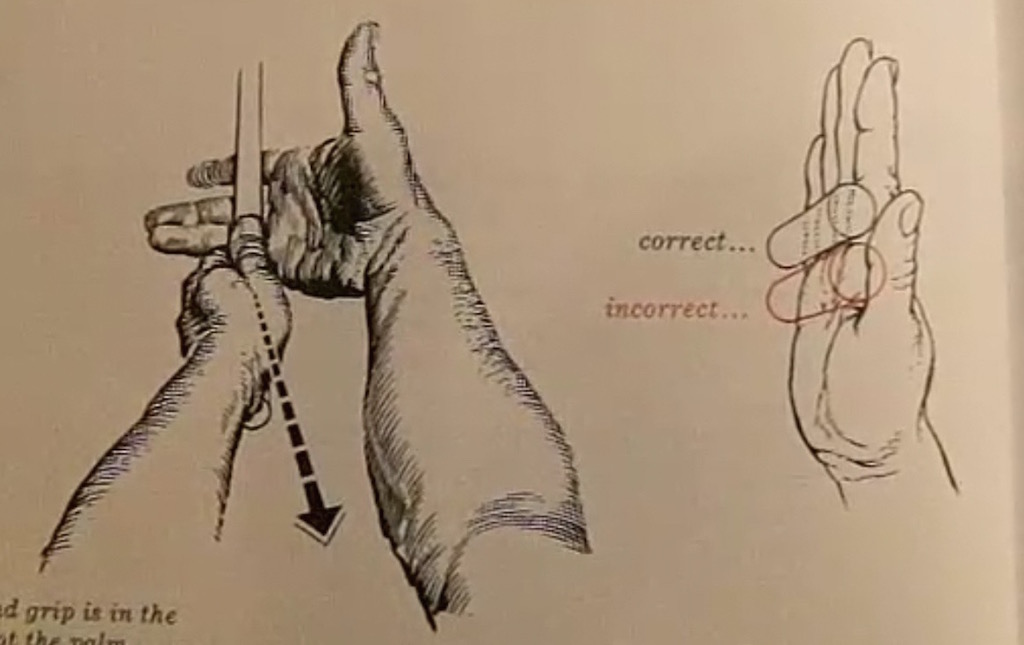
By this I mean that the palms of the two hands are not parallel to each other. Too many golfers have a weak left hand and strong right, or vice versa. The easiest way to learn how to hold the club with your palms aligned properly is to grip a plain wooden ruler or yardstick. It forces the hands to align properly and shows you how that feels. If you grip and re-grip a yardstick several times, then grip a club, you’ll see that the learning curve is almost immediate.
The position of the grip in the upper/left hand
I also observe many golfers who have the butt of the grip too far into the heel pad of the upper hand (the left hand for right-handed players). It’s amazing how much easier it is to release the club through the ball if even 1/4-1/2″ of the butt is beyond the left heel pad. Try this yourself to see what I mean. Swing the club freely with just your left hand and notice the difference in its release from when you hold it at the end of the grip, versus gripping down even a half inch.
To help you really understand how this works, go to the range and hit shots with your five-iron gripped down a full inch to make the club the same length as your seven-iron. You will probably see an amazing shot shape difference, and likely not see as much distance loss as you would expect.
Too much lower (right) hand on the club
It seems like almost all golfers of 8-10 handicap or higher have the club too far into the palm of the lower hand, because that feels “good” if you are trying to control the path of the clubhead to the ball. But the golf swing is not an effort to hit at the ball – it is a swing of the club. The proper hold on the club has the grip underneath the pad at the base of the fingers. This will likely feel “weak” to you — like you cannot control the club like that. EXACTLY. You should not be trying to control the club with your lower/master hand.
Gripping too tightly
Nearly all golfers hold the club too tightly, which tenses up the forearms and prevents a proper release of the club through impact. In order for the club to move back and through properly, you must feel that the club is controlled by the last three fingers of the upper hand, and the middle two fingers of the lower hand. If you engage your thumbs and forefingers in “holding” the club, the result will almost always be a grip that is too tight. Try this for yourself. Hold the club in your upper hand only, and squeeze firmly with just the last three fingers, with the forefinger and thumb off the club entirely. You have good control, but your forearms are not tense. Then begin to squeeze down with your thumb and forefinger and observe the tensing of the entire forearm. This is the way we are made, so the key to preventing tenseness in the arms is to hold the club very lightly with the “pinchers” — the thumbs and forefingers.
So, those are what I believe are the four fundamentals of a good grip. Anyone can learn them in their home or office very quickly. There is no easier way to improve your ball striking consistency and add distance than giving more attention to the way you hold the golf club.
More from the Wedge Guy
- The Wedge Guy: Golf mastery begins with your wedge game
- The Wedge Guy: Why golf is 20 times harder than brain surgery
- The Wedge Guy: Musings on the golf ball rollback
- LIKE86
- LEGIT13
- WOW6
- LOL1
- IDHT0
- FLOP4
- OB1
- SHANK8
Instruction
Clement: Stop ripping off your swing with this drill!

Not the dreaded headcover under the armpit drill! As if your body is defective and can’t function by itself! Have you seen how incredible the human machine is with all the incredible feats of agility all kinds of athletes are accomplishing? You think your body is so defective (the good Lord is laughing his head off at you) that it needs a headcover tucked under the armpit so you can swing like T-Rex?
- LIKE0
- LEGIT2
- WOW2
- LOL0
- IDHT0
- FLOP0
- OB0
- SHANK2
-

 19th Hole2 weeks ago
Dave Portnoy places monstrous outright bet for the 2024 Masters
-
 19th Hole2 weeks ago
Tiger Woods arrives at 2024 Masters equipped with a putter that may surprise you
-
 19th Hole2 days ago
Justin Thomas on the equipment choice of Scottie Scheffler that he thinks is ‘weird’
-

 19th Hole2 days ago
‘Absolutely crazy’ – Major champ lays into Patrick Cantlay over his decision on final hole of RBC Heritage
-
 19th Hole3 weeks ago
Report: Tiger Woods has ‘eliminated sex’ in preparation for the 2024 Masters
-
 19th Hole1 week ago
Two star names reportedly blanked Jon Rahm all week at the Masters
-

 19th Hole1 week ago
Report: LIV Golf identifies latest star name they hope to sign to breakaway tour
-

 19th Hole1 week ago
Neal Shipley presser ends in awkward fashion after reporter claims Tiger handed him note on 8th fairway

















Carlo
Jun 3, 2014 at 6:45 am
Hi. I need some drills to help with speed of putts. Any useful drills?
Pingback: Rethink how you practice your putting - I'd Rather Be Golfing
TheCityGame
May 30, 2014 at 8:59 am
I don’t like the “gate drill” on breaking putts. There is more than one line to the hole on a breaking putt. Line can’t be separated from speed on a breaking putt.
That isn’t true of a straight putt.
The only time I’ve really screwed myself up putting is when I got into the mindset that I could hit perfect breaking putts. That if I hit a putt on an EXACT LINE at an EXACT SPEED, it would go into the hole. It takes the ART, and the FEEL out of it.
For that matter, I don’t love it on a straight putt. We already have a technique for determining if we hit a straight putt straight. . .it goes in the hole.
But, I love the idea that you have to be able to roll a putt on your intended line. I just think it can be practiced much more simply. It’s about the only thing an indoor mat is good for, for example.
Bill Schmedes III
May 30, 2014 at 6:01 pm
Thanks for the comments. I agree with some of your comments, it’s just a drill to give face awareness to a player, not sure how it could be much simpler, especially if you go in the order the drills were listed. It’s a progression
The dude
Jun 1, 2014 at 1:36 pm
All putts are straight…….
Jadon
May 29, 2014 at 2:39 pm
I feel like I am a “better than average” putter. I have recently noticed that I’m getting a big hop off the ground off the face of my putter. What am I doing wrong?
Pure
May 29, 2014 at 3:33 pm
You’re hitting down on it too much, may be you have started to move the ball too far back in your stance at address for some reason
Bill Schmedes III
May 29, 2014 at 5:18 pm
I agree with Pure that your hitting down on it too much causing the ball to strike turf and jump up abruptly. Ball position is important but so is the effective loft on your putter. Make sure you don’t have too much forward press effecting loft at impact. I recommend putter fittings to all students as it’s very important to find the correct loft and lie to fit your stroke. This helps produce a true roll.
Drill: Grab three coins and stake them on-top of each other. Address the coins and try to pick the top coin off the pile. This will help improve your rise angle through impact.
Frank Ramsey
Jun 3, 2014 at 12:32 am
Stop looking before you hit the ball and this will avoid the ‘hop off the ground’
Scott
Jun 9, 2014 at 9:53 am
Keep the putter lower to the ground on the take-away….problem solved
Philip
May 29, 2014 at 12:54 pm
Love the exercises – will add them this weekend. Personally I don’t care about my stance when putting, whatever feels relaxed at that moment is what I go with. The result is that I never putted straighter with such great distance control.
Jadon
May 29, 2014 at 4:40 pm
Hm…I try to set up maybe one ball left of center (right handed), I’ll try to move it forward a ball or two and see if that gets it rolling quicker, thanks for the tip
Bill Schmedes III
May 29, 2014 at 5:18 pm
Jadon, see my post above. Hope that helps. Thanks
Jadon
May 30, 2014 at 9:59 am
Bill, I went to the practice putting green and hit about 20 putts yesterday. I adjusted the ball forward in my stance and I’m pretty sure it was working, the greens weren’t great so I couldn’t tell exactly how smooth the ball was coming off the face but it definitely wasn’t jumping. I will work on the coin drill this weekend for sure, I have a competitive round scheduled for Saturday, I’m pumped now, thanks for the drill.
Bill Schmedes III
May 30, 2014 at 5:56 pm
That’s great Jadon. Best of luck Saturday!
Bill Schmedes III
May 29, 2014 at 5:13 pm
Thanks Philip! Let me know how it goes