Equipment
Slabs in the Lone Star State – Lead Tape Report: CJ Cup Byron Nelson

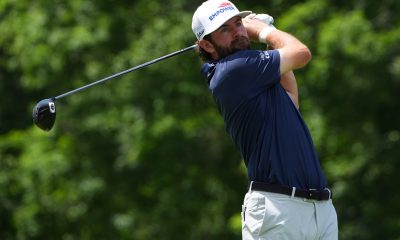
This week, the PGA Tour revisits the Lone Star State for the CJ Cup Byron Nelson. The origins of this tournament trace back to the 1926 Dallas Open, and it resumed after a hiatus in 1944, with Byron Nelson’s name associated with the event since 1968. Nelson’s professional record includes 52 wins and 5 majors, by the way. Lord Byron won a record 11 tournaments in a row, 18 tournament victories overall in 1945. A fun fact, one of the wins was the Esmeralda Open at Indian Canyon Golf Course in Spokane, Washington, which is a home course of mine in town.
Another fun fact is that the club testing robot used by the USGA and major OEM’s is nicknamed Iron Byron. Of course, named after Byron Nelson, with his repeatable, consistent swing to test golf clubs and golf balls.
Anyways, let’s get to the action for this week’s Lead Tape Report at the CJ Cup Byron Nelson.
Alex Huang


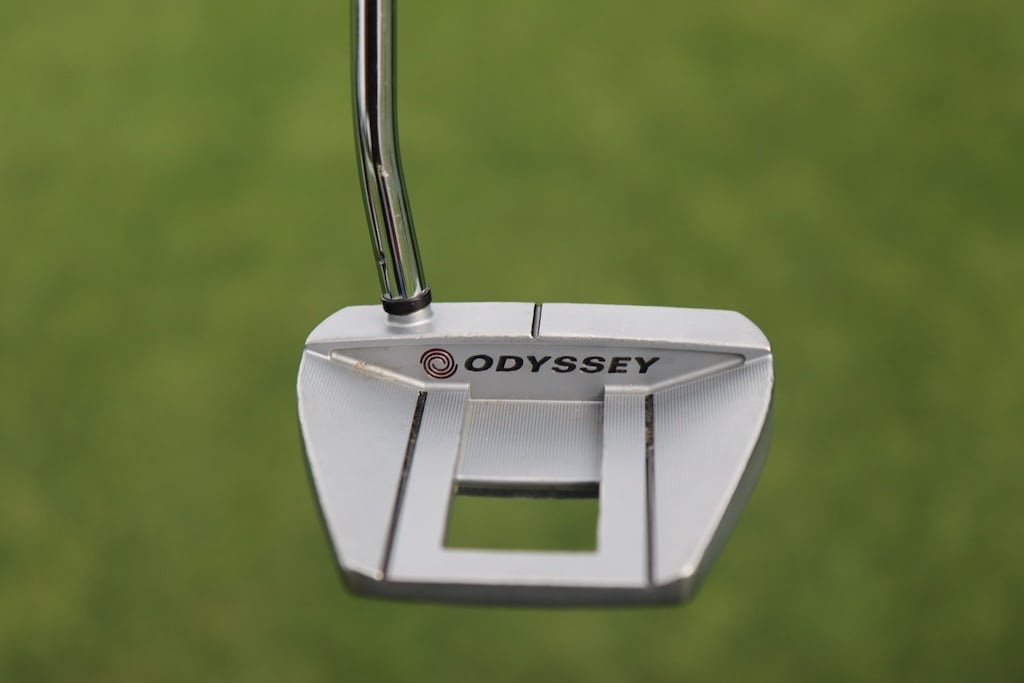
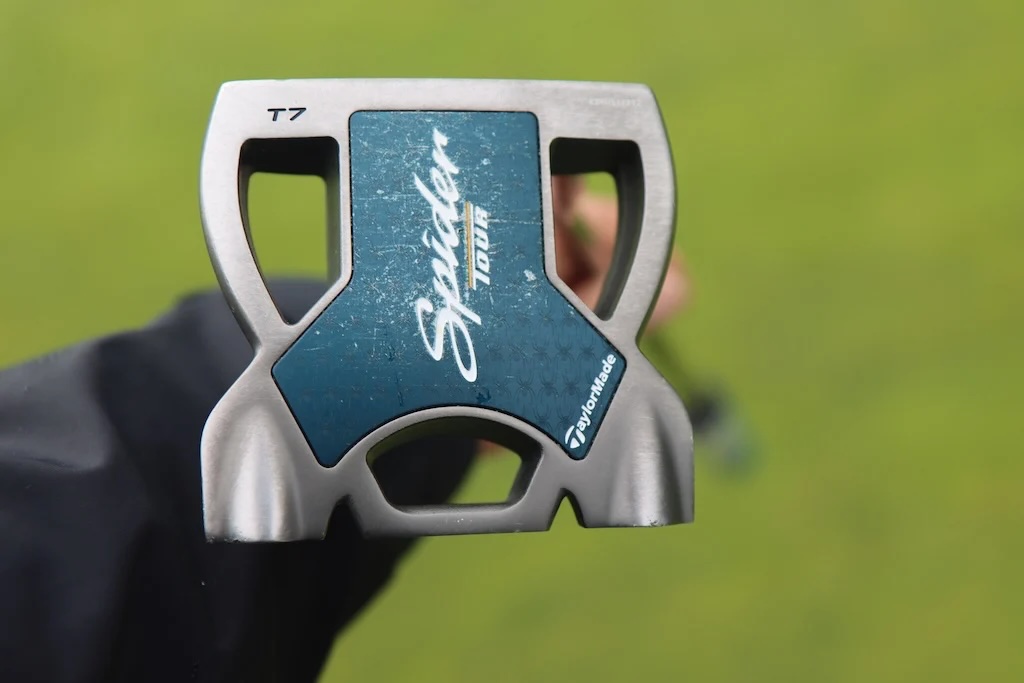
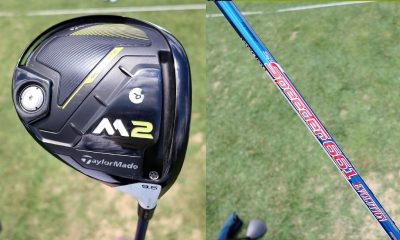
Getting into the CJ Cup Byron Nelson through the Monday Qualifier is Alex Huang. The sophomore is on the University of North Texas golf team. This is his first PGA Tour event, and he did it in style, getting through a three-for-one playoff at the end of the qualifier. What caught my eye about the bag was the TaylorMade Stealth UDI driving iron. Moving along to his TaylorMade Spider putter, there was a strip of tape on the bottom as well. This can be for a bit more head weight or to help the putter sit on the putting surface in a specific way the player likes.
Ryan Brehm


Ryan Brehm makes his way to TPC Craig Ranch for his fifth appearance at the event in his career. This is his 9th event of the season. Scanning his bag, I did not see anything with the silver stuff, and then it struck on the 50-degree Cleveland RTZ Tour Rack wedge. The other thing I noticed is the True Temper X7 shaft in his wedges, which carries on out through this set of irons. Typically, you will see a different set of shafts with a little softer kick in the wedges compared to the irons. But it shows that clubs are made for your swing and how you deliver the club at impact.
Adam Headley


Adam Headley of Green Tree Country Club is in his first PGA Tour event this week by way of qualifying, winning the Joyce Crane | Veritex Bank Section Championship in April 2025. This North Texas Section PGA Tour event granted an exemption into the CJ Cup Byron Nelson. Looking into the bag, I couldn’t help but notice the Titleist T250U 4-iron. It is accompanied by a Project X HZRDUS Black shaft. A sporty head cover representing the home club on the bag as well. Will be staying tuned in on how Adam plays this week.
Brennan Little
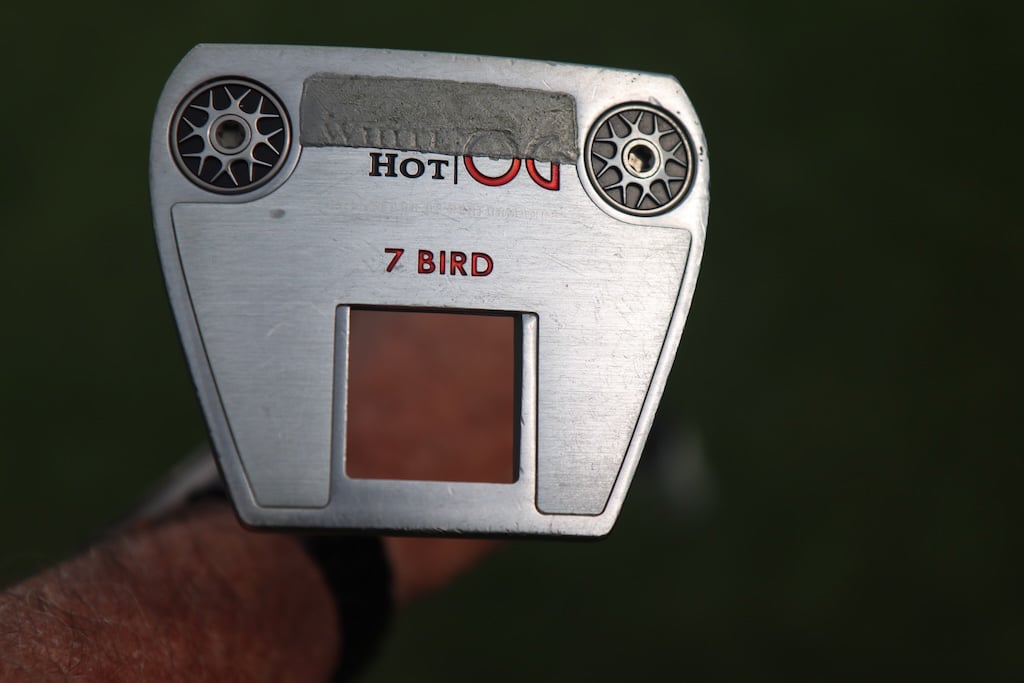
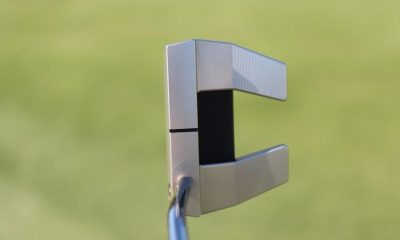
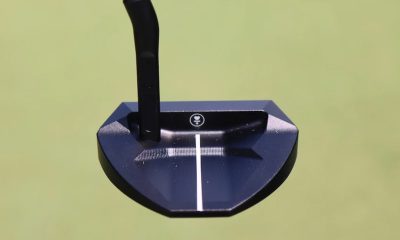
Our PGA Tour photographer, Greg Moore, caught up with Brennan on Monday. Brennan, Gary Woodland’s caddie, got to play in the pro-am on Monday. We see on the bottom of the Odyssey 7 Bird putter just one strip of lead tape. This looks to be to help with the putter at address as it sits on the putting surface. Another cool thing about Brennan Little is that, being a great player in his own right, he competed in the Senior PGA Championship earlier this year at the Concession Golf Club. A great year results-wise with playing in a major and being on the bag with Gary Woodland, getting a win at the Texas Children’s Houston Open in March.
Aaron Wise
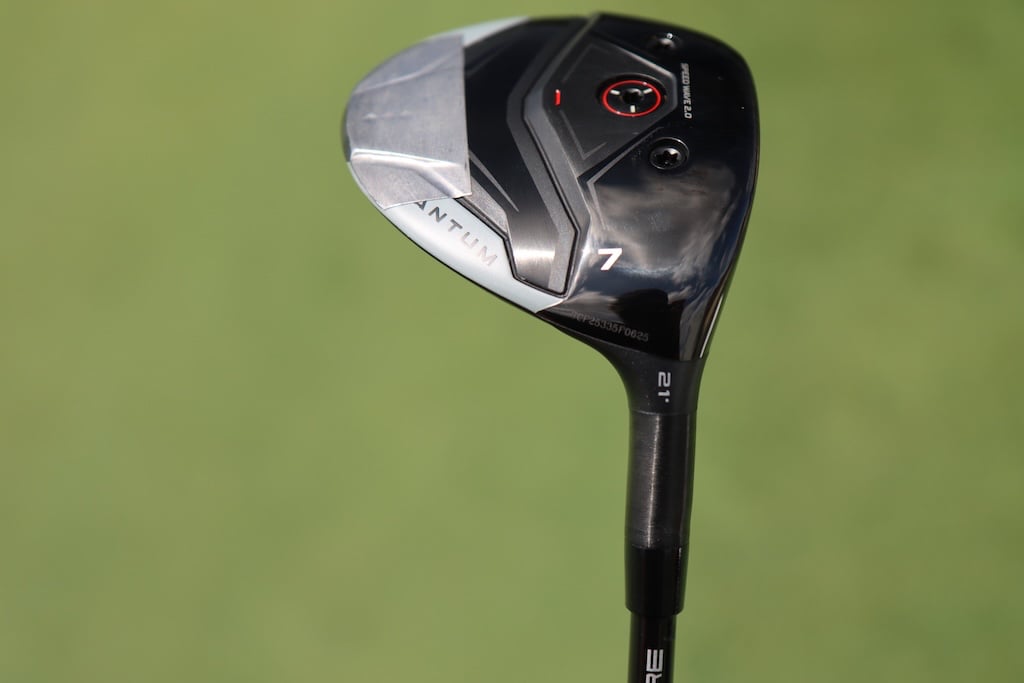
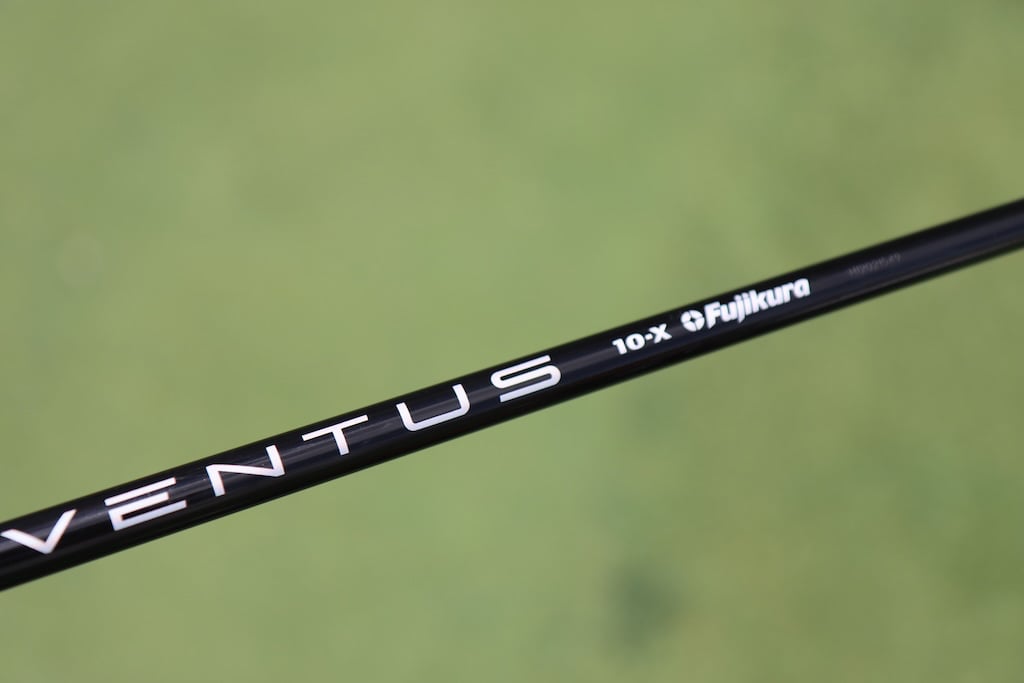
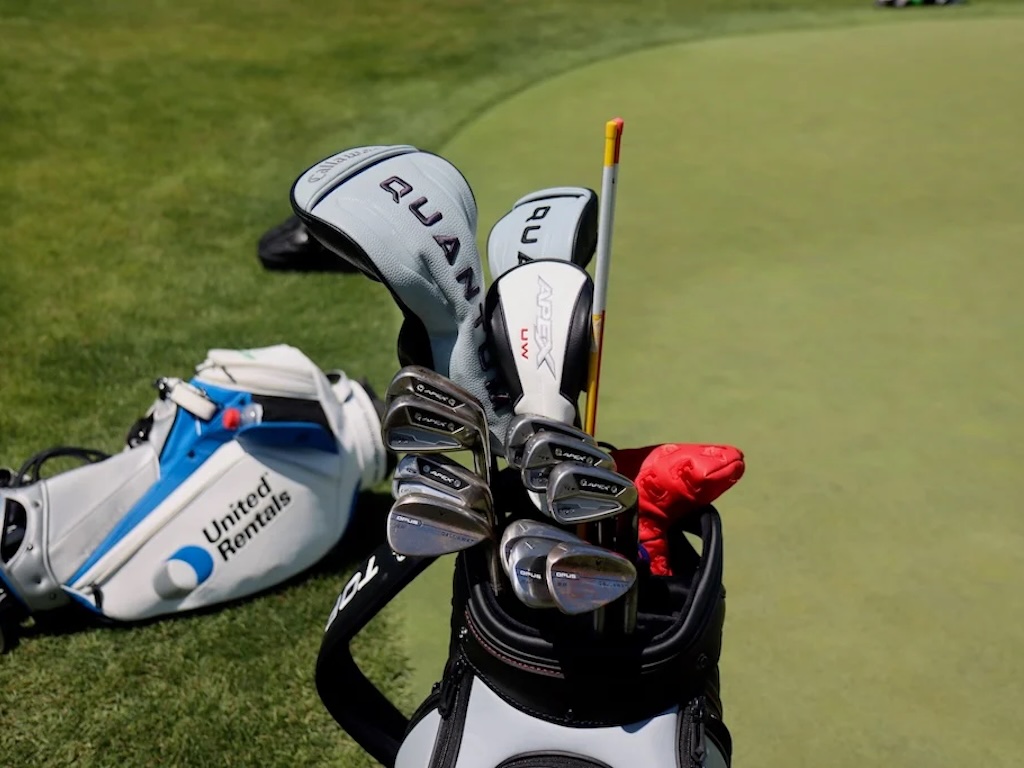
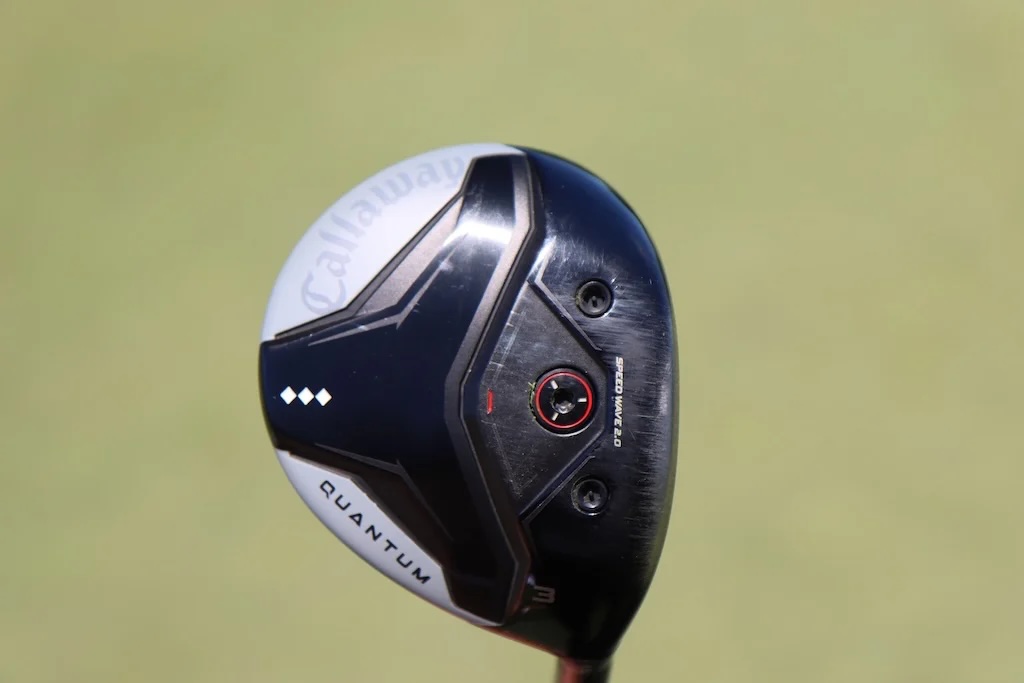
The 2018 champion is in the field this week (albeit at a different location, Trinity Forest). As for Aaron’s bag, the club with the tape is the new Callaway Quantum Triple Diamond 7-wood. A nice piece of tape covering nearly the back half of the sole of the club. Paired with the Fujikura Ventus Black 10 X shaft, this makes for a stout club to attack the flag or get the ball in position off the tee. A high-lofted wood is going to have no trouble with height, so a stout shaft syncs up nicely.


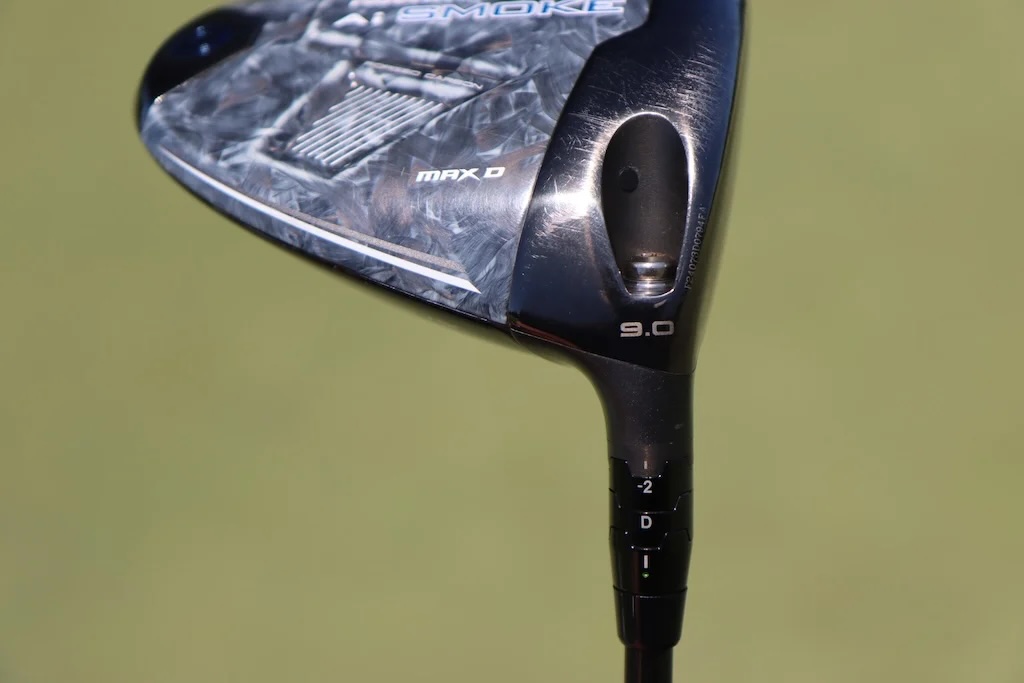
Driver: Callaway Paradym Ai Smoke Max D (9 degrees @7, draw setting)
Shaft: Graphite Design Tour AD VF 6 X
3-wood: Callaway Quantum Triple Diamond (15 degrees)
Shaft: Mitsubishi Diamana BB 83 TX
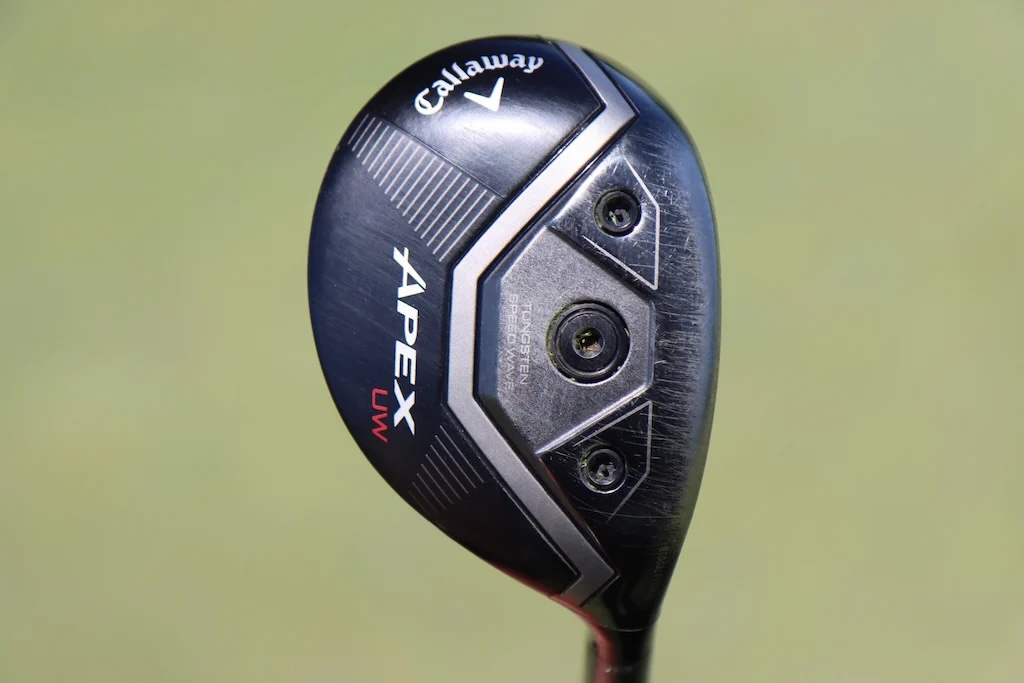
Hybrid: Callaway Apex UW (19 degrees)
Shaft: Project X HZRDUS Black
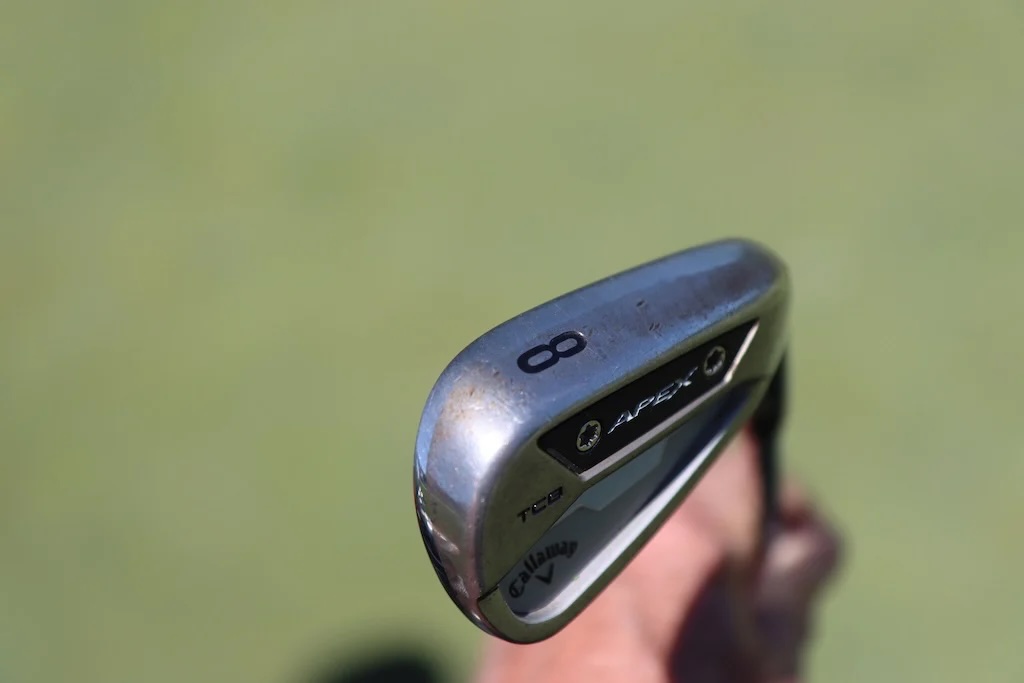
Irons: Callaway Apex TCB (4-9)
Shafts: True Temper Dynamic Gold Tour Issue X100
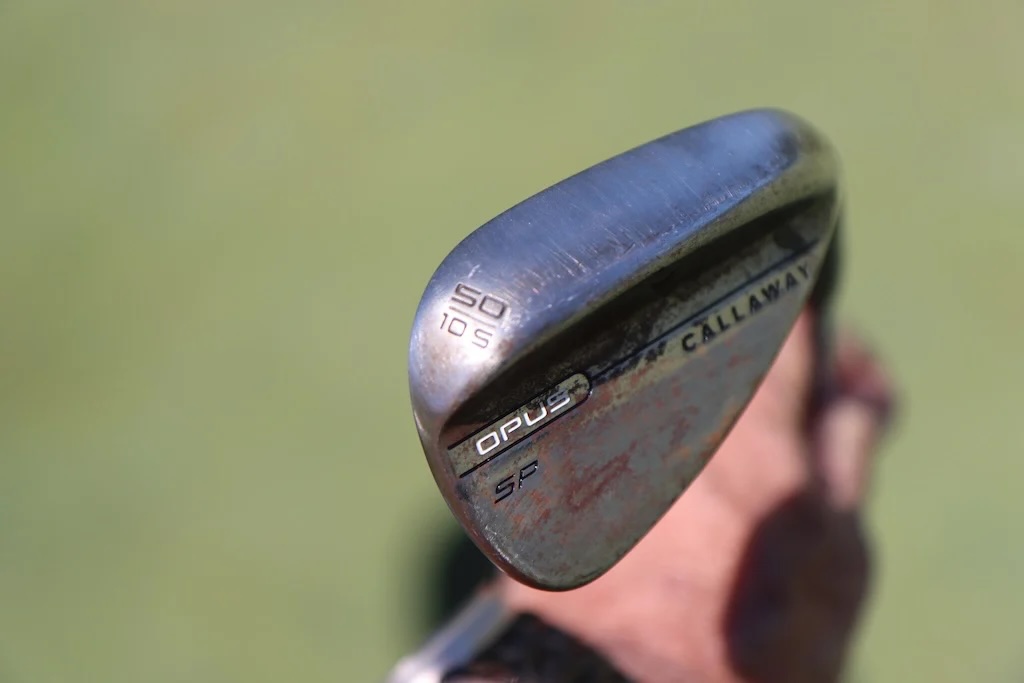
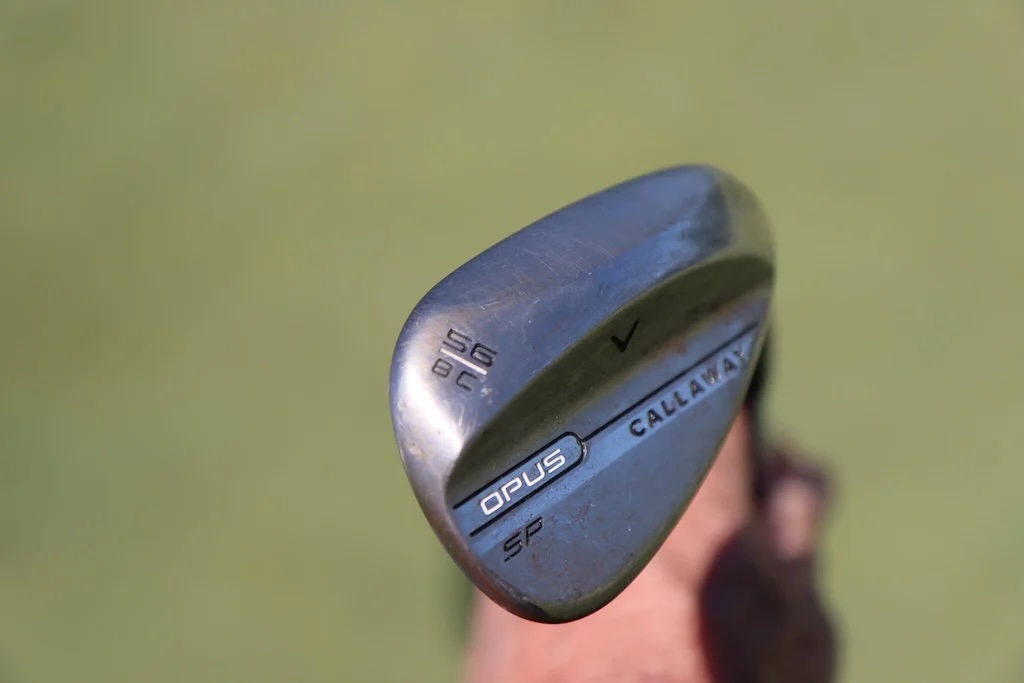
Wedges: Callaway Opus SP (46-10S, 50-10S, 56-08C, 60-08C)
Shafts: True Temper Dynamic Gold Tour Issue S400
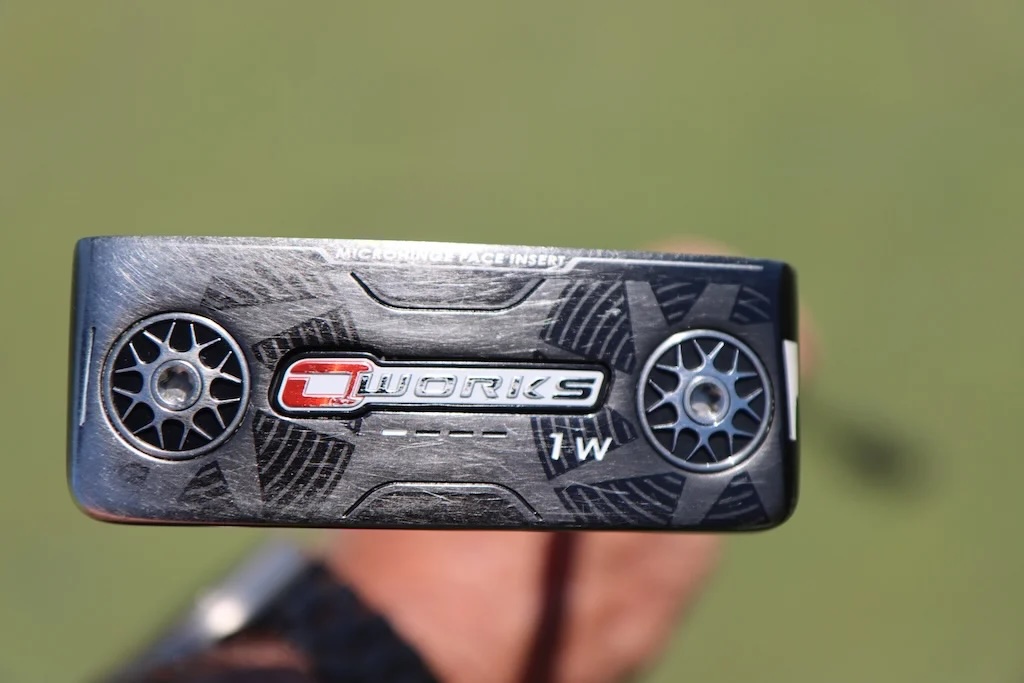
Putter: Odyssey O-Works #1W
Grips: Golf Pride Tour Velvet
Ball: Callaway Chrome Tour
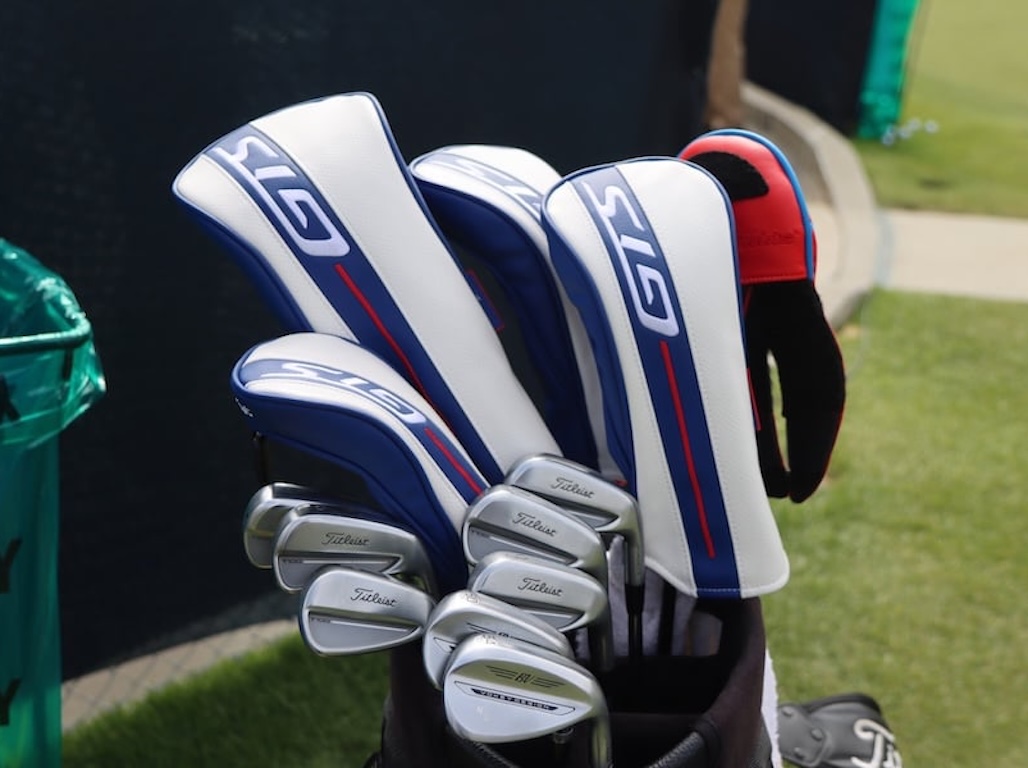
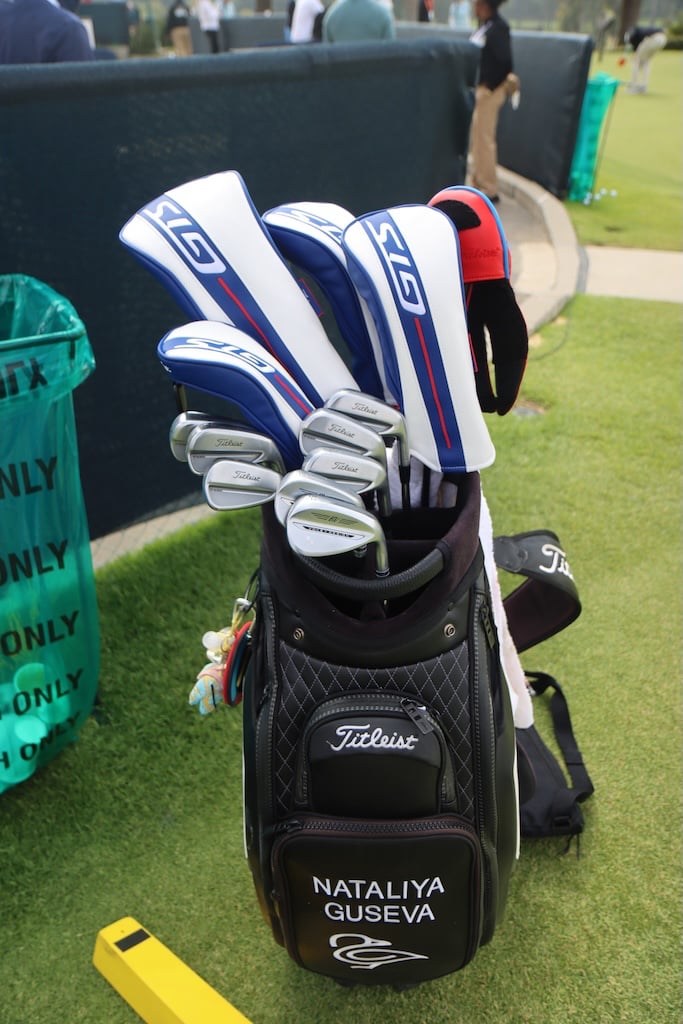
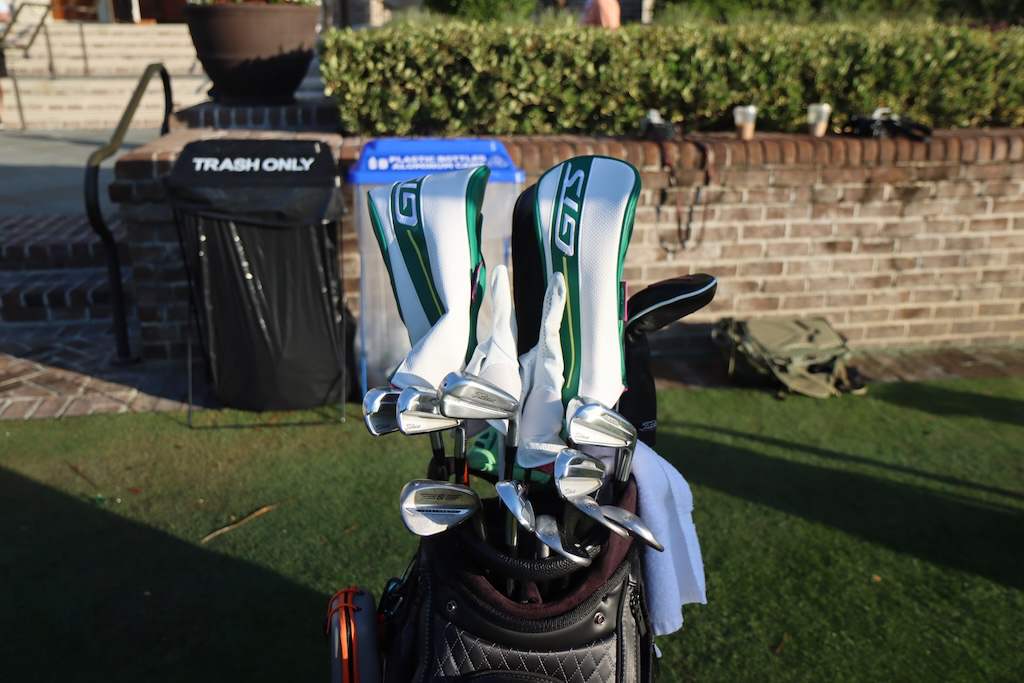
GolfWRX Tour Photographer Greg Moore was at Riviera Country Club this last week in Los Angeles for the U.S. Women’s Open. While browsing the photos, I spotted a recent major trend in headcovers. That is, the Titleist GTS headcover line expands the majors theme.
Seen on the bag of Natalia Guseva were the red, white, and blue Titleist GTS covers. This is the third time we have seen limited-edition Titleist major covers, the others being at the Masters and the PGA Championship. But with the launch of the GTS line back at the Texas Children’s Houston Open in March, this is the first time we have seen Titleist come out with major themed head covers for the season (driver headcovers through hybrids).
Check out some photos below.
At the Masters, we saw the familiar Masters green, white, and yellow. While the PGA Championship design was colors synonymous with the Philadelphia Eagles NFL team. This shows the season major drops continue full steam ahead for major OEMs. New opportunities for each major for designs and themes, and who knows, maybe a lucky spark for a player and a major championship for their resume. It gets the wheels turning for what major theme headcover you would keep on your bag for the whole season!

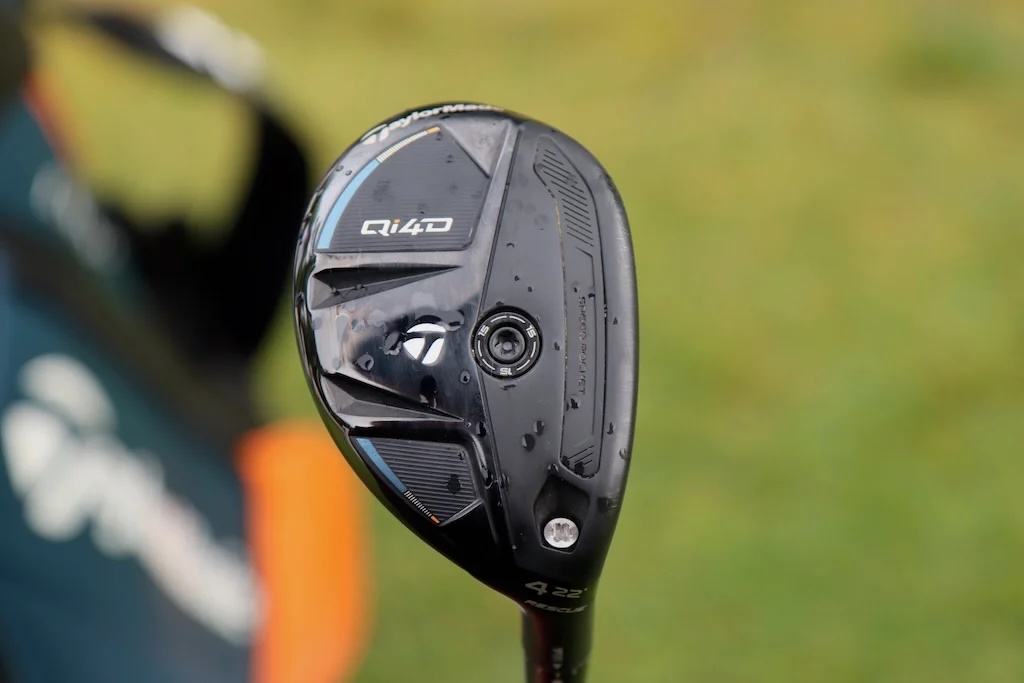
Driver: TaylorMade Qi4D (9 degrees)
Shaft: Graphite Design Tour AD VF 5 S

3-wood: TaylorMade Qi4D (15 degrees)
Shaft: Graphite Design Tour AD VF 6 S
Hybrids: TaylorMade Qi4D (19 degrees, 22 degrees)
Shaft: Graphite Design Tour AD VF Hybrid 85 S 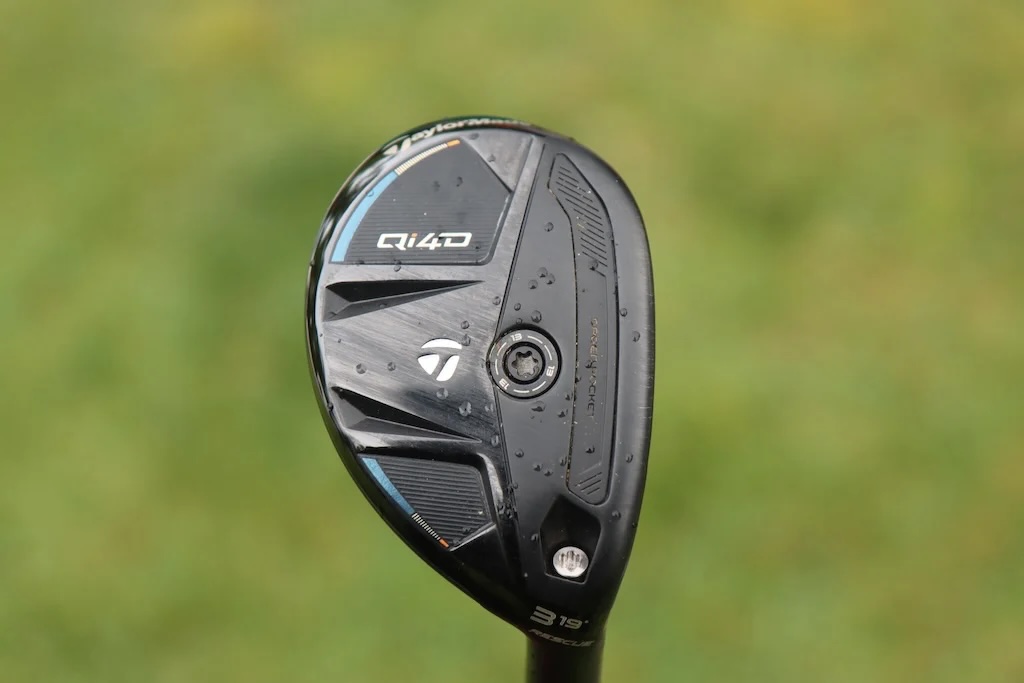
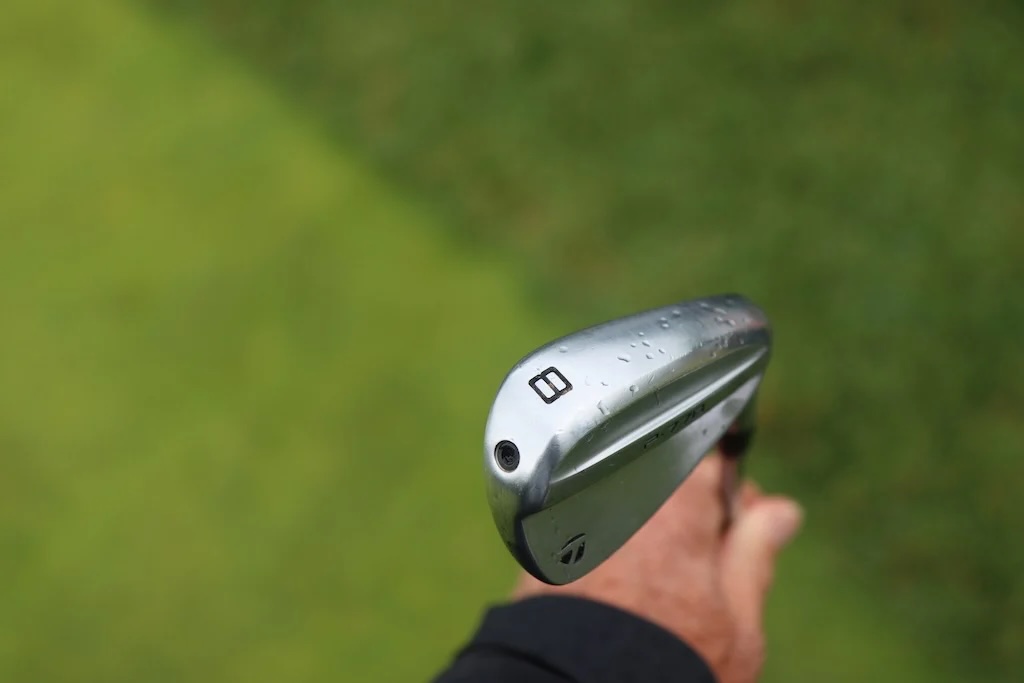
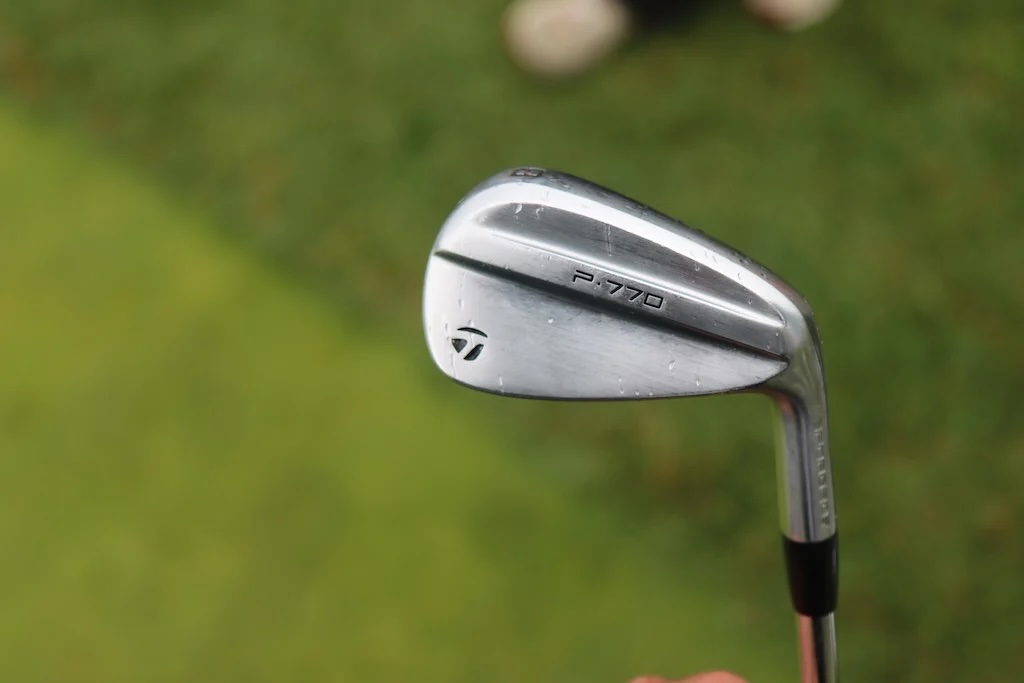
Irons: TaylorMade P770 (5-PW)
Shafts: Nippon Modus 3 Tour 105
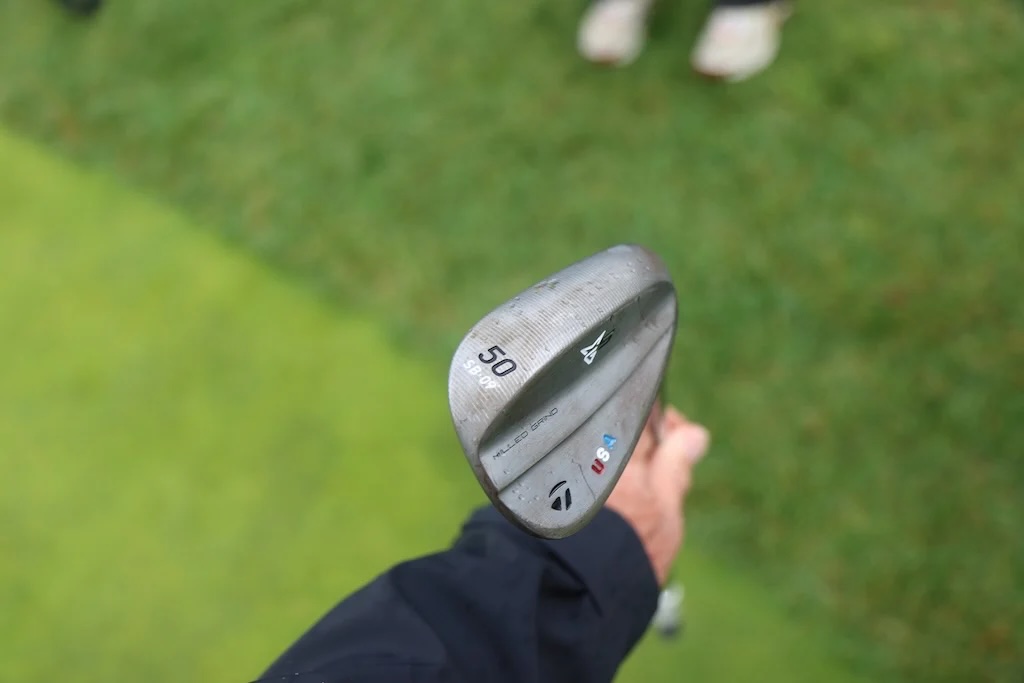
Wedges: TaylorMade MG5 (50-SB 09, 54-SB 12, 60-SB 10)
Shafts: Nippon Modus 3 Tour 105
Putter: TaylorMade Spider Tour V
Grip: SuperStroke Flatso 2.0
Grips: Golf Pride MCC
Ball: TaylorMade TP5x
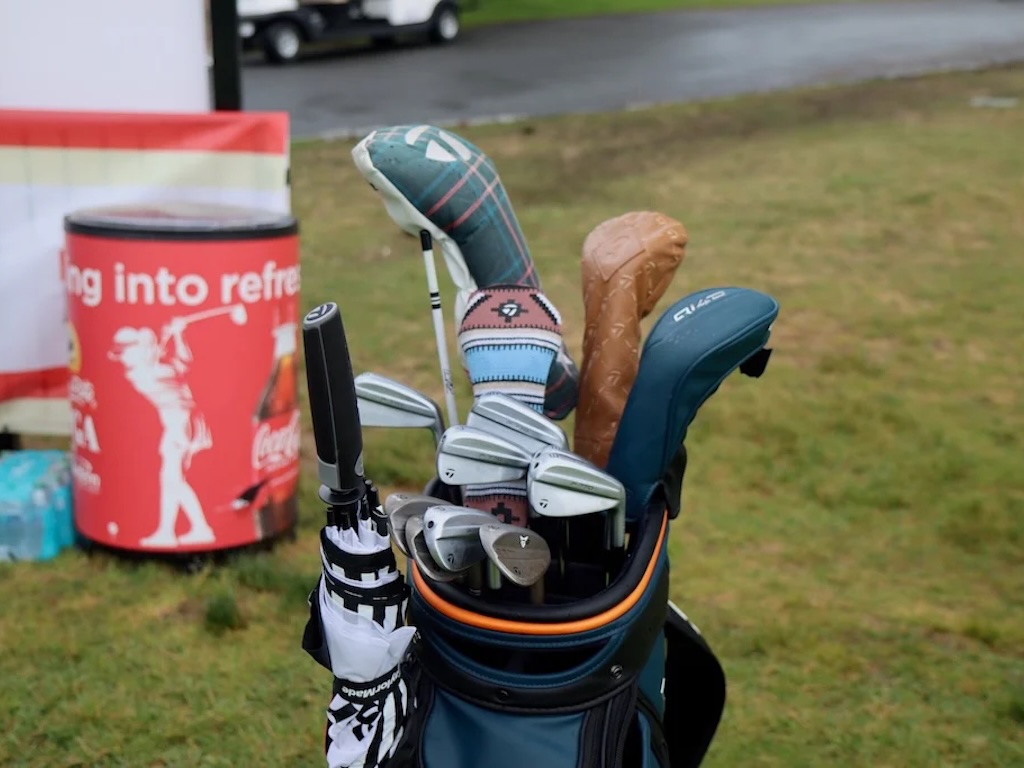
Check out more in-hand photos of Melanie Green’s clubs here.

Justin Rose WITB 2026 (April): Full WITB breakdown with new McLaren irons

What’s the story behind Webb Simpson’s custom-stamped irons?

Cadillac Championship Tour Report: Spieth’s sizable changes, McLaren Golf launches, and more

Memorial Tournament Tour Report: Rory McIlroy, Cameron Young switch up drivers, and more

Russell Henley’s winning WITB: 2026 Charles Schwab Challenge

Kristoffer Reitan’s winning WITB: 2026 Truist Championship

Aaron Rai’s winning WITB: 2026 PGA Championship

Cameron Young’s winning WITB: 2026 Cadillac Championship

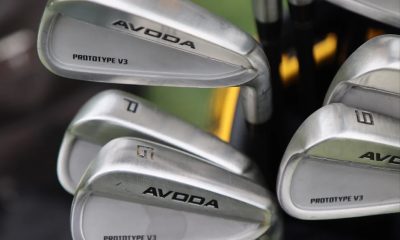
Details on Jason Day’s latest prototype Avoda iron setup

Justin Rose on the switch to McLaren Golf, learnings from previous equipment moves

Alex Noren WITB 2026 (June)
Driver: Callaway Paradym Ai Smoke Max D (9 degrees @7, draw setting) Shaft: Graphite Design Tour AD VF 6 X 3-wood: Callaway...


Melanie Green WITB 2026 (June)
Driver: TaylorMade Qi4D (9 degrees) Shaft: Graphite Design Tour AD VF 5 S 3-wood: TaylorMade Qi4D (15 degrees) Shaft: Graphite Design Tour...

Sungjae Im WITB 2026 (June)
Sungjae Im had >14 clubs in his bag when photographed prior to the Memorial Tournament. Driver: Titleist TSi2 (8 degrees, B1...

Lucas Glover WITB 2026 (June)
Lucas Glover had >14 clubs in his bag when photographed prior to the Memorial Tournament. Driver: Titleist GTS2 (10 degrees, B2 SureFit...
-
 Equipment2 days ago
Memorial Tournament Tour Report: Rory McIlroy, Cameron Young switch up drivers, and more
-
 News7 days ago
Russell Henley’s winning WITB: 2026 Charles Schwab Challenge
-
 Whats in the Bag3 weeks ago
Aaron Rai’s winning WITB: 2026 PGA Championship
-
 Equipment4 days ago
Details on Jason Day’s latest prototype Avoda iron setup
-
 Tour Photo Galleries3 weeks ago
Photos from the 2026 CJ Cup Byron Nelson
-

 Equipment2 weeks ago
CJ Cup Byron Nelson Tour Report: Koepka and Kim’s newest putters finally get hot
-
 News1 week ago
Charles Schwab Challenge Tour Report: MacIntyre, Åberg and Spaun all switch putters, TaylorMade launches new Spider
-
 Equipment2 weeks ago
Details on J.J. Spaun’s surprise putter switch